USER-ASSIGNED
BATCHES
Under normal circumstances, any user is allowed to create timesheet batches or void/reissue batches, and to work with existing batches. If, however, your organization prefers to restrict a user to a specific batch of timecards and/or a void/reissue batch, you may use this option to assign a specific timesheet batch and/or a specific void/reissue batch to a User ID.
When a user with an assigned batch selects the [Enter and Edit Timesheets] or [Enter Voided and Reissued Checks] options, the user will NOT see a list of existing batches, instead, the user will go directly into their assigned batch.
Note: each User ID may be assigned to a single
timesheet batch and one void/reissue batch at any given time. If this user needs to access another batch,
you must temporarily change the batch assignment. Also, each batch may be assigned to more than one user ID, but
only one user will be allowed in a batch at any given time.
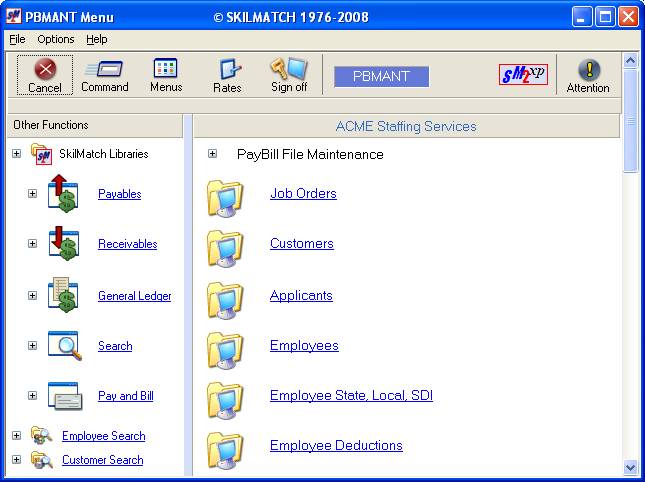
To begin, sign on to the Pay and Bill Library.

Click [File Maintenance]. The screen will display:
Use the blue bar to scroll down, or right-click in the white part of the screen to display more menu options.
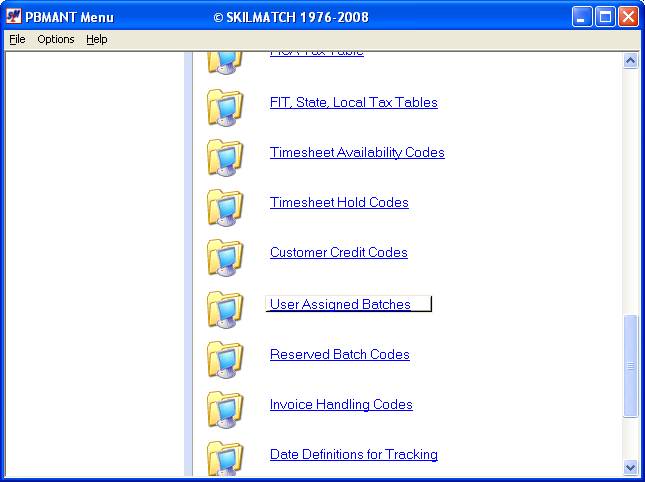
Click [User Assigned Batches].
The screen will display:
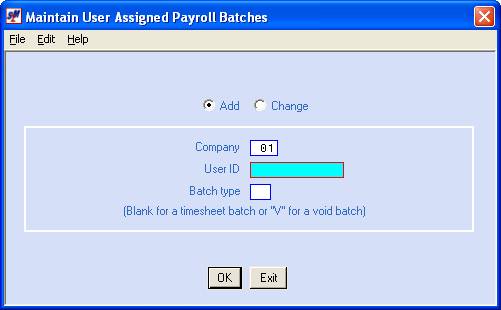
Add
or Change:
The system defaults to add. If you wish to change an existing assigned batch, click once on change to select (a black dot will appear next to your selection).
Company Code:
The
system defaults to company 01. If you
wish to work with an assigned batch for a different company, key the desired
company number.
User ID:
Key the user ID you wish to which you wish to assign a batch.
Batch Type:
Leave blank if you wish to assign a timesheet batch to the specified user.
OR
Key V if you wish to assign a void/reissue batch to the specified user.
To NOT proceed, click [Exit]. You will be returned to the “PayBill Library Master Files: Data Entry of …” menu.
OR
To proceed, click [OK].
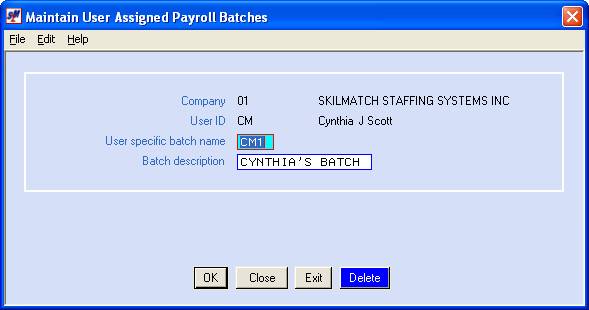
If you chose to proceed, the screen will display:
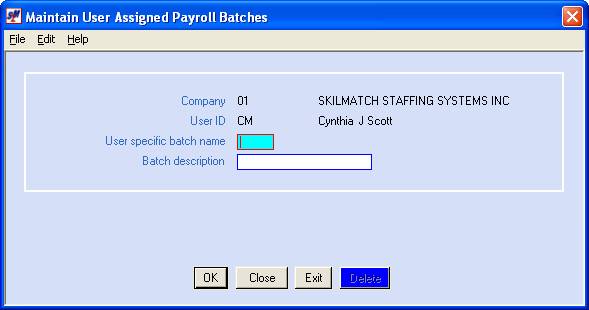
User Specific Batch Code:
Key the Batch name.
Note: Each batch may be assigned to more than one
user ID, but only one user will be allowed access to a batch at any given time.
Note: if multiple locations will assist with
timesheet entry, we recommend you assign batch codes using the following logic,
which will allow for locations (branches) 01-99 plus AA-ZZ, batches 1-9 plus
A-Z with V reserved for the location's void batch. Also, since batches display in batch code order during the [Merge] option and the [Search
Timesheet Batches by SS#], this logic will allow for ease of use in those options.
Branch 01, Batch 01 011
Branch 01, Batch 02 012
Branch 01, Void Batch 01V
Branch 02, Batch 01 021
Branch 02, Void Batch 02V
Batch Description:
Key up to 15-characters to describe this batch.
Example: BR1/BCH1 or BR1/VOIDS or USER JDJ110 or JOHN DOE.
To add, change, or delete this data, click [OK].
OR
If you do NOT wish to add, change, or delete this data, but wish to begin again, click [Close]. You will return to the previous screen to try again.
OR
If you wish to set up additional assigned batches codes or change existing ones, follow the preceding steps.
When you have finished with this option, click [Exit].
Delete An Assigned Batch:
If you wish to delete this assigned batch, click [Delete].
The screen will display:
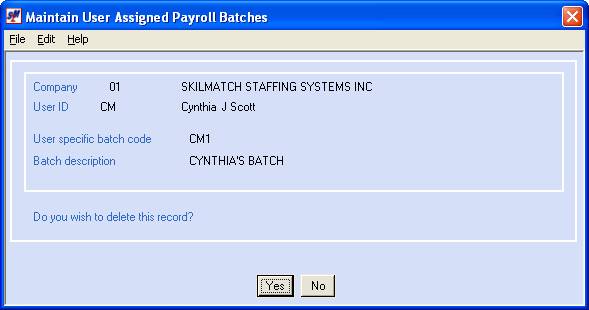
To continue with deleting this batch, click [Yes].
OR
To NOT delete this batch, click
[No].