CUMULATIVE BILLING PROCESSING:
Invoices
Cumulative billing allows you
to process multiple sets of payroll checks WITHOUT printing invoices until all
payrolls have been completed for the billing cycle. The billing from all individual payrolls is accumulated and
processed together, even though paychecks are printed during each payroll
cycle. Do not select this option
until you have finished all of the individual payrolls that are to be part of
the billing.
Cumulative Billing Overview:
Each standard payroll cycle consists of a ‘Begin Cycle’, the entry of timecards into batches, the merging of timecard batches, the processing of checks and/or invoices, and payroll file updates. During the Begin Cycle, if Cumulative Billing is active for the G/L company, the system will look at the current status of the Cumulative billing file. Based on the status, the system will present screens with special messages regarding cumulative billing.
These cumulative billing status messages include:
No current cumulative billing in process
Cumulative billing in process, but not yet printed
Cumulative billing printed and posted, but not yet saved
Current cumulative billing completed, system will clear file
The system will add the current timecard records to the cumulative billing file IF the standard [Print Invoices] option on the Payroll Processing menu IS NOT processed during the payroll cycle. The timecard records will be added to the cumulative file during the [Save] option on the Payroll Update menu.
Once all individual payrolls belonging to a cumulative billing cycle have been processed, you will be ready to process the Cumulative Invoices.
The Cumulative Invoice option includes several procedures. These procedures include:
(1) Producing a print file of invoices,
(2) Posting the invoices to the general ledger and accounts receivable,
(3) Updating the pay bill file with invoice numbers, and
(4) Saving the cumulative billing file to tape or disk.
During the Begin Cycle, you were given the opportunity to verify invoice-printing information (beginning invoice number, invoice date, etc.). You will have another opportunity during this option to verify and make changes, if necessary, before creating the print file of invoices.
If you have customer files that are set to sort timecards into groups by job order department, you will get a report to inspect before the invoice print file is produced. If you find errors on the report, you can cancel the invoices and go back into the job orders to make changes to the department. The system does not pick up the job order department until this menu option is processed. (ANY OTHER JOB ORDER CHANGES WILL BE IGNORED).
The system will also edit the invoices for potential errors. Some errors will prevent an invoice from posting to A/R or G/L, some are just warning errors that will not prevent the invoice from posting. Examples of “terminal” errors are duplicate invoices numbers, invalid customer codes, or G/L account numbers that no longer exist. Example of an error that is a warning only is “will result in a credit balance”. Credit balances will post anyway.
Your system may be set up to save invoice detail for reprinting purposes. (If disk space is an issue, then your system probably is NOT set up for the invoice reprint option.)
“Create-A-Check” (CAC), is a software, interfaced with SkilMatch, to allow printing of invoices (as well as paychecks, A/P checks, W2s, and more) using specific types of laser printers. You must purchase the CAC interface, and SkilMatch staff must set it up for you, before it will be active during your payroll.
SkilMatch customers are divided into 2 groups: those who lease space on the SkilMatch/E (SM/E) server, and those who own a server. Make certain before proceeding that you know your group. There are separate steps, where appropriate, for SM/E users.
During the Cumulative
Invoice option, the system will process the following:
Step 1
- Cumulative Billing Active
Step
2 - Custom Invoice Program
Step 3 - Standard
Invoice Program
Step 4
- Payroll Update 'Save' not processed
Step 5 - Cumulative billing and save already
processed
Step
6 - Cumulative billing posted, not saved
Step
8 - Processing from restored files
Step 9 -
Invoices Sorted and Printed by Customer Department
Step 10 -
Create-a-Check printing
Step 12 -
Posting to A/R and G/L
Step
13 - Valid Fiscal Periods
Step 14 -
Cumulative Billing Save
Step
16 - Reprinting An Original Invoice
This option produces up to 7 reports:
Invoices by Customer Department (PB451A)
Actual invoices (REPRINTINV or PB450)
New Jersey vouchers (PB456)
Invoice Edit (AR120)
Invoices Register (AR130)
List of invoices not added to the Invoice reprint file (INVSAV)
List of paybill records not found for updating (PBCMBL11)
HOW TO PRINT CUMULATIVE
BILLING INVOICES
To begin, sign on to the PayBill library.
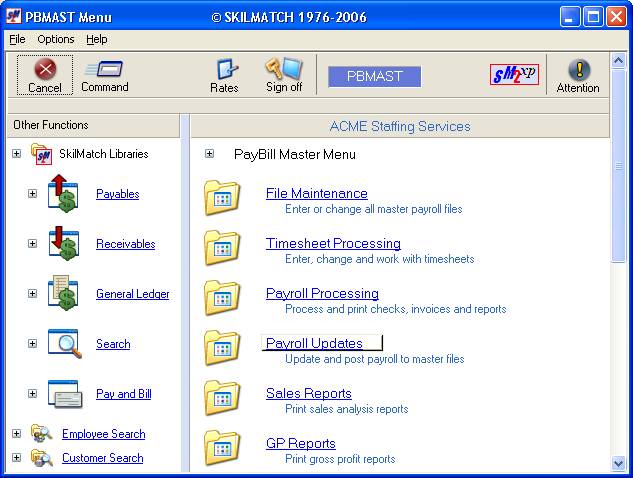
Select [Payroll Updates]. The screen will display:
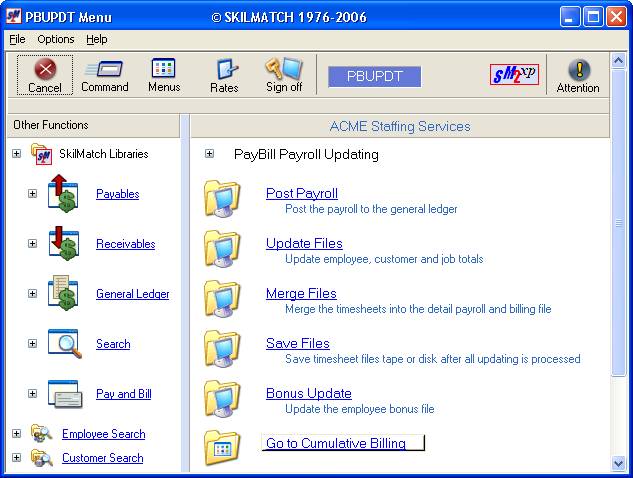
Click [Go To The Cumulative Billing Menu].
The screen will display:
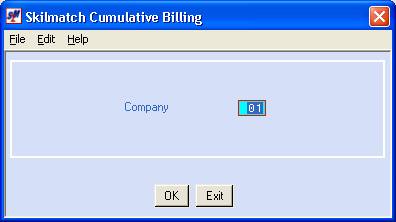
Company Number:
The system defaults to company 01. To print cumulative billing invoices for a different company number, key the desired company number.
To NOT continue processing cumulative billing invoices, click [Exit].
To continue processing cumulative billing invoices, click [OK].
If you chose to continue, the screen will check to see if Cumulative Billing is active for the company selected. If it is NOT active, the screen will display:
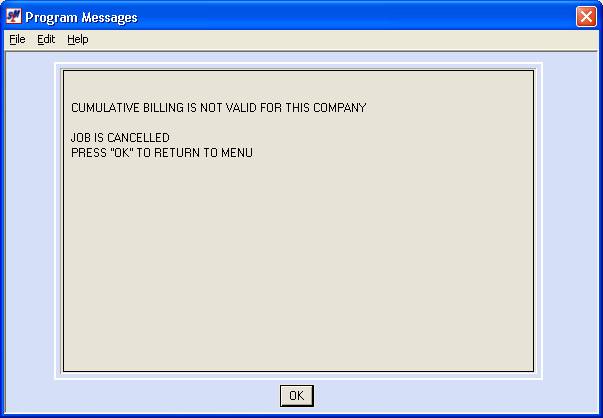
Click [OK] to return to the Payroll Update menu.
If Cumulative Billing is active for the company selected, the screen will display:
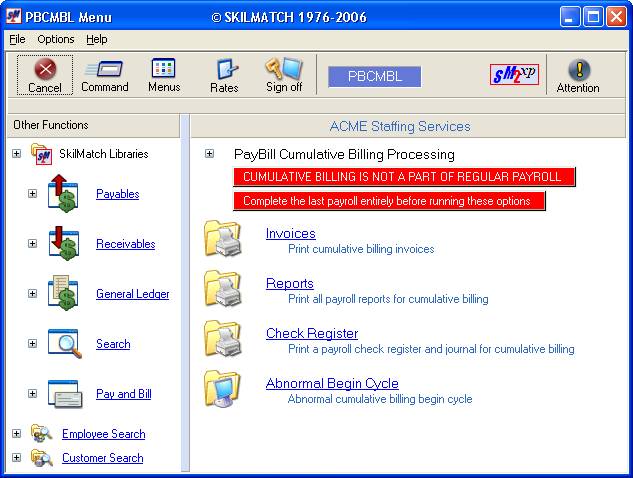
Click [Invoices].
The screen will display:
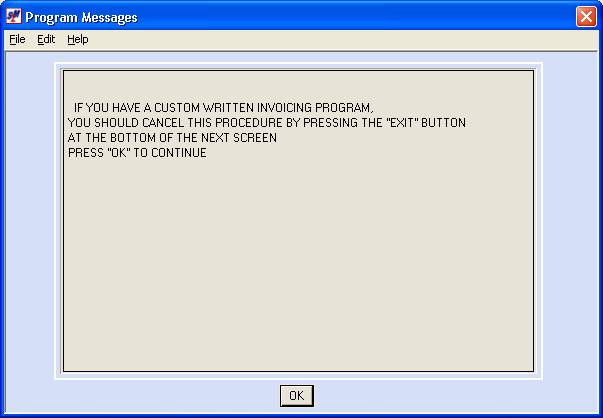
If you have a custom invoice program, you should NOT be using this option. Click [OK] and then click [Exit] on the next screen to cancel this option. You will be returned to the “PayBill Library Payroll Processing” menu.
If you do not have a custom invoice program, click [OK] to continue.
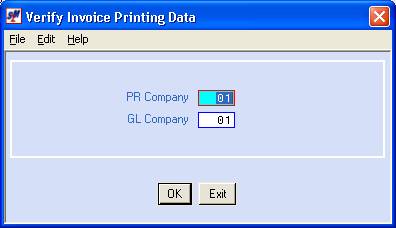
The system defaults to company 01. To print cumulative billing invoices for a different payroll company number, key the desired company number.
GL Company Number:
The system defaults to company 01. To print cumulative billing invoices for a different general ledger company number, key the desired company number.
To NOT continue processing cumulative billing invoices, click [Exit].
To continue processing cumulative billing invoices, click [OK].
If you chose to continue, the screen will display:
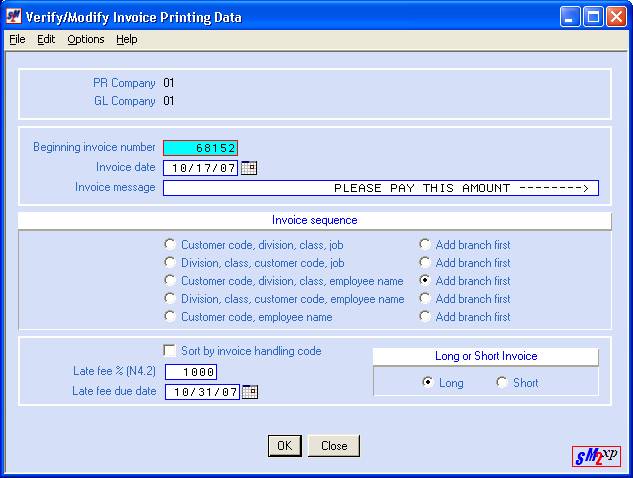
Beginning Invoice Number:
The number you entered on the Constant file during the "Begin Cycle" process will display. If this number is NOT correct, key the correct first invoice number.
Invoice Date:
The date you entered on the Constant file during the "Begin Cycle" process will display. If this date is NOT correct, key the correct date.
OR
Select dates
by clicking the ![]() button (prompt and select button) to the
right of dates throughout SkilMatch2. The
button (prompt and select button) to the
right of dates throughout SkilMatch2. The ![]() button will display a calendar from which you
may click on a date to select, and then click [OK]
to key the date.
button will display a calendar from which you
may click on a date to select, and then click [OK]
to key the date.
Invoice Message:
The message from the Constant file keyed during the "Begin Cycle" process will display. If this message is still NOT correct, key the desired invoice message. The area will hold 53 characters.
Invoice Sequence Code:
The code you selected on the Constant file during the "Begin Cycle" process will display. If this code is NOT correct, select the desired invoice sequence code. For an explanation of the various sequences, please refer to Begin cycle, Invoice Sequence options.
Sort By Invoice Handling Code:
The screen will display the option selected in the Payroll System Requirements file. If this selection is incorrect, make the desired change. A checkmark displayed means your invoices will sort by invoice handling code. No checkmark displayed means your invoices will NOT sort by invoice handling code. For an explanation of this option, please refer to Payroll System Requirements File.
Late Fee %:
The late fee percent entered during the “Begin Cycle” will display. If the percent is NOT correct, key the correct late fee %, up to 99.99%. (Remember that this is a 4-digit area, with 2-digits to the right of the decimal. Key 10% as 1000.)
Late Fee Date Due:
The date you entered on the Constant file during the "Begin Cycle" process will display. If this date is NOT correct, key the correct date.
OR
Select dates
by clicking the ![]() button (prompt and select button) to the
right of dates throughout SkilMatch2. The
button (prompt and select button) to the
right of dates throughout SkilMatch2. The ![]() button will display a calendar from which you
may click on a date to select, and then click [OK]
to key the date.
button will display a calendar from which you
may click on a date to select, and then click [OK]
to key the date.
Long Or Short Invoice?
The screen will display the code that is entered in your Payroll System Requirements file. If this code is incorrect, make the desired change.
Note: any changes made to this screen will affect
this payroll only. If you must re-run this option, everything but the INVOICE
number will be re-set back to the "Begin Cycle" defaults. The INVOICE number will have counted ahead
and will need to be reset.
To NOT print invoices according to this setup, and try again, click [Close].
To print invoices according to this setup, click [OK].
System checks for Payroll
Updates:
The system will verify that all Payroll Updates have been completed. If you are attempting to print Cumulative Billing Invoices BEFORE the Save Files option from the Update menu has completed, the screen will display:
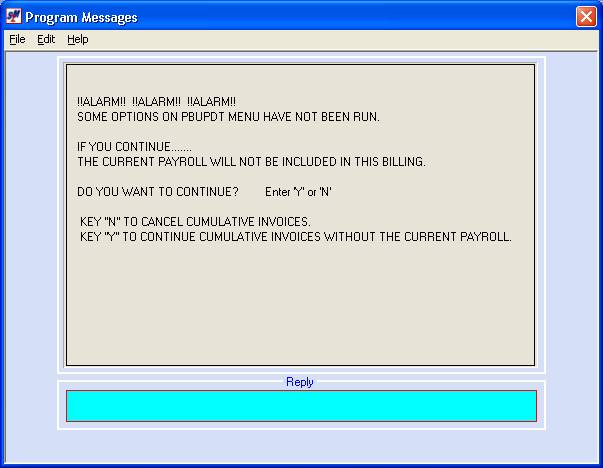
Key Y and press <enter> if you wish to continue WITHOUT the billing records from the last payroll process,
OR
If the records in the current payroll merged file SHOULD be included in this billing, key N to cancel this option and press <enter>. If you choose to cancel, the screen will display:
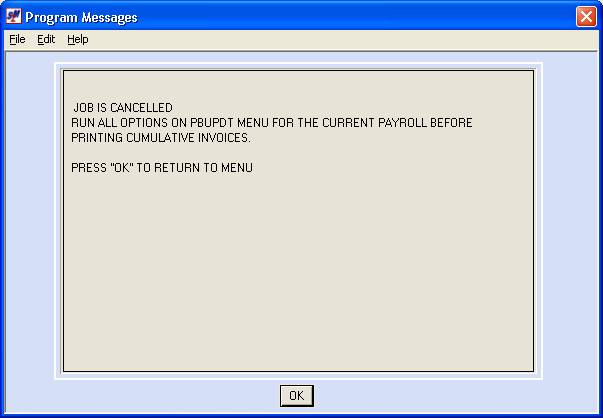
Click [OK] to return to
menu. Go back to the Update menu and
finish the updates.
If you chose to continue
without cancelling this option, the billing from the last payroll that was
updated will NOT be included with the Cumulative billing invoices.
System checks for previous
cumulative processing:
Once the system has
verified that all Payroll Update menu options have been processed, the internal
monitor will verify that the Cumulative Invoices have not already been posted
and saved. If the monitor sees that
the posting and save have already been
processed, the screen will display:
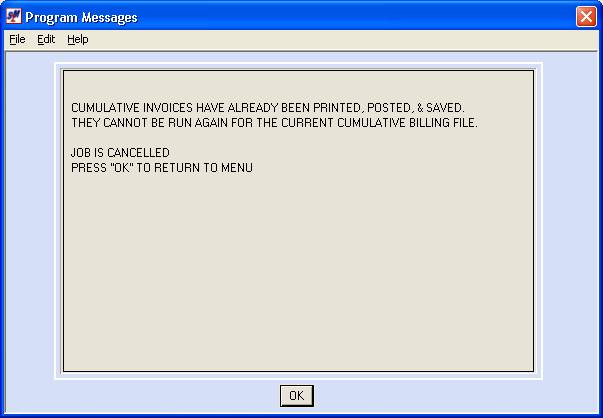
Click [OK] to return to menu. The system will NOT allow you to process once the Posting and Save have occurred. If you believe this is incorrect, call SkilMatch for assistance.
Cumulative invoices posted, not saved:
If the internal monitor reflects that the invoices were posted, but not yet saved, the screen will display:
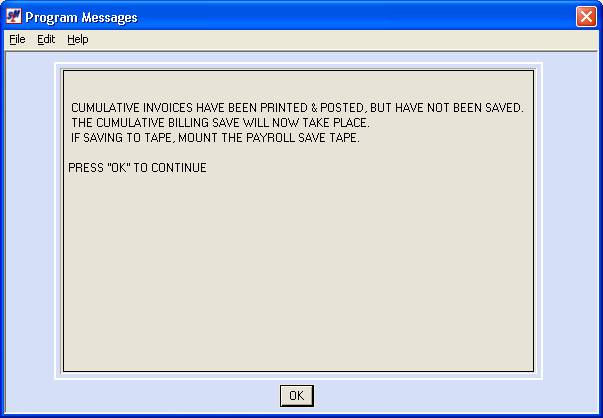
Click [OK]. The screen will display:
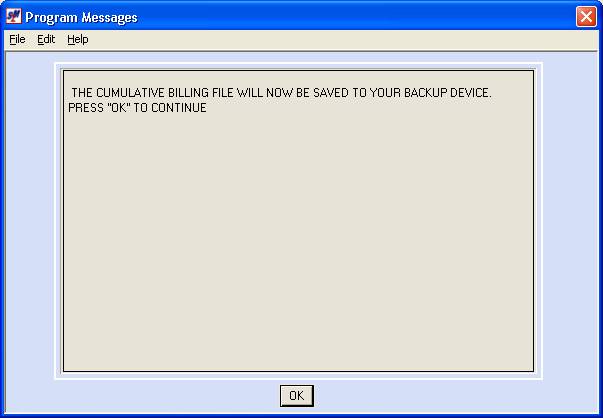
Click [OK]. For instructions on saving to disk or tape, click save to move forward in this document.
If the internal monitor
finds that neither the Posting or Save have taken place, you will be allowed to
continue.
If you print New Jersey payment vouchers, the screen will display:
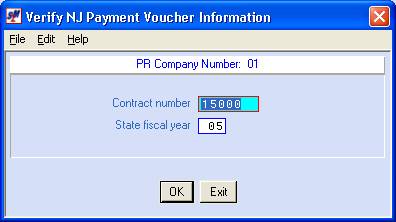
Contract Number:
The screen will display the New Jersey payment voucher information from the New Jersey state file. If this information is incorrect, make the desired change.
State Fiscal Year:
The screen will display the New Jersey payment voucher information from the New Jersey state file. If this information is incorrect, make the desired change.
To NOT continue printing invoices, and return to the “Cumulative Billing Processing” menu, click [Exit].
To continue, click [OK].
Processing from restored
files:
If you are re-running this option during the same payroll process, the screen will display:
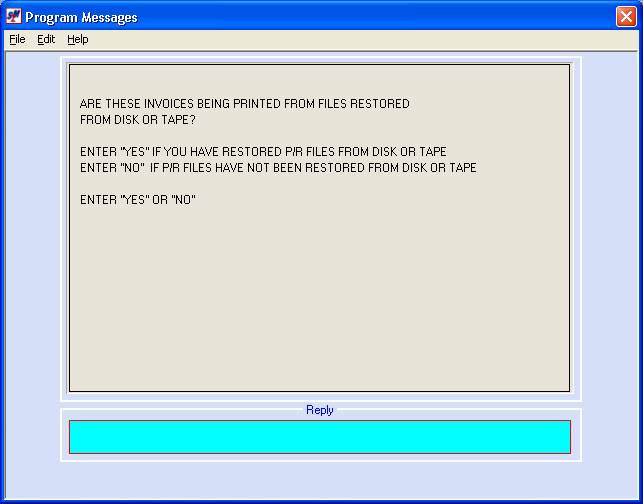
If you restored files from disk or tape before beginning this procedure, key YES.
OR
If you did NOT restore files, you just need to re-print your invoices, key NO.
Click [OK].
Invoices Sorted and Printed by Customer Department:
If at least one invoice is being sorted and printed by customer department, the screen will display:
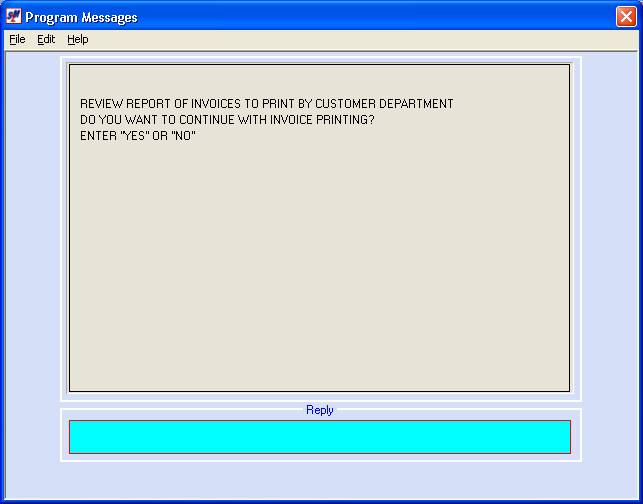
Check your output queue
for a report that will display all invoices sorted by customer department that
are due to print. The report will show
the employees that are going to print on each invoice.
Inspect the report to make certain that the customer departments are correct, and that each temporary is showing up under the correct department.
If you find errors, key NO. Make the necessary changes to the customer department field on the job order and select this option again.
If you do not find any errors on the report and wish to continue with printing of invoices, key YES.
Click [OK].
Create-a-Check printing:
The next screen to display will depend on whether or not you have “Create-A-Check” (CAC) installed. CAC is a software interfaced with SkilMatch to allow printing of invoices (as well as paychecks, A/P checks, W2s, and more) using specific types of laser printers. You must purchase the CAC interface and SkilMatch staff must set it up for you before it will be active during your payroll.
If you do NOT use CAC to print, click next to move forward to your next step.
If you are an SM/E customer (leasing space on the SkilMatch server) using CAC to print invoices, click SM/E to move forward to your next step.
For SkilMatch CAC customers who own a server, the system will check to make certain that you do not already have invoices waiting to print. If the system finds an existing invoice file, then the screen will display:
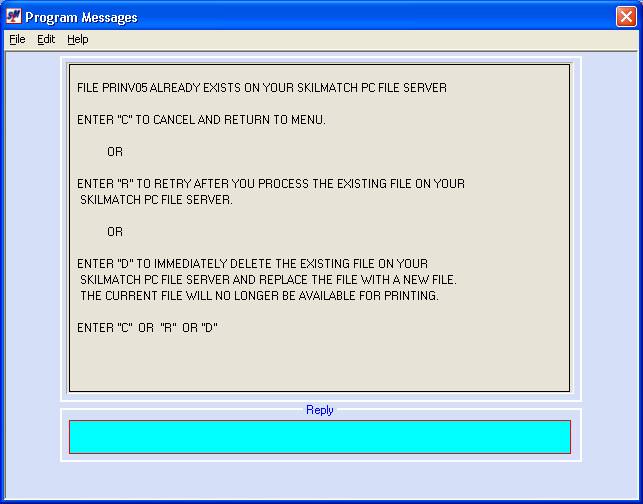
C - If you do not know why the file exists, key a C to cancel this job and go investigate.
R - If the file exists because you have not yet printed the invoices from the last payroll, go print the invoices, then come back to this screen and key R to retry the process.
D - If the file exists because you have processed this option but did not print or post the invoices created, and are re-creating the invoice file, key D to delete the existing file and create a new file.
Once the system does not detect an existing file of invoices, the screen will display:
When
this screen displays, the system will have created a print file of CAC
invoices. If you prefer to hold off
doing the actual printing until AFTER you have viewed the Invoice Edit, go
ahead and key Y and press (enter).
Viewing the edit BEFORE printing could save you from printing invoices
that are not correct!
The system will not check to see if the previous print file of invoices was ever printed. Instead, it will replace any existing invoice file with a new one. Your screen will display:
When
this screen displays, the system will have created a print file of CAC
invoices. If you prefer to hold off
doing the actual printing until AFTER you have viewed the Invoice Edit, key Y and press (enter). Viewing the edit
BEFORE printing could save you from printing invoices that are not correct!
A/R Invoice Edit:
The next step in the invoicing process is to edit the invoices for
errors. Some errors will result in the
invoice not being posted to Accounts Receivable or General Ledger. Other errors are just warning messages, and
the invoice affected will post anyway.
You should REVIEW the
edit (AR120) and the print file of invoices (REPRINTINV
or PB450) before proceeding!
The system will
display one of the following 2 screens:
-OR-
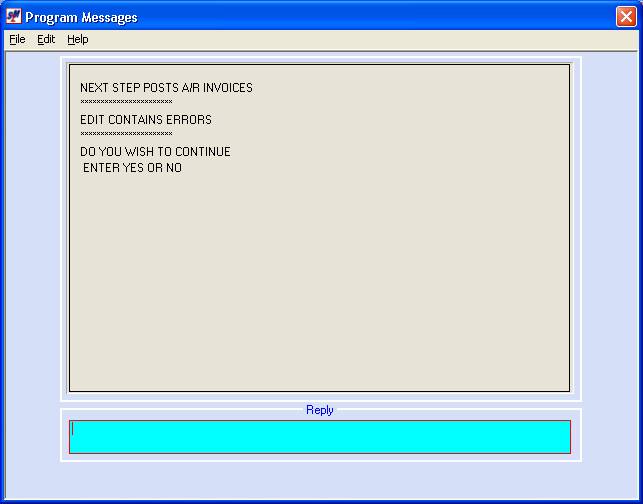
Invoice Edit Contains Errors:
If your screen also has the words “EDIT CONTAINS ERRORS”, you will need to decide whether or not to continue with invoice processing. Inspect the Edit report and the invoice file carefully. Depending on the error shown on the edit, you will decide whether or not to proceed. If the edit has the words WILL NOT BE POSTED, then you should be aware that the system will post everything on the edit except those invoice(s). All invoices will be posted to accounts receivable and general ledger except the items in error.
If the edit has errors that do not contain the words WILL NOT BE POSTED, then the messages are alerting you to situations you should be aware of before you make the decision to post.
Again, you need to decide whether to continue based on the errors listed on the edit. You may wish to call SkilMatch to discuss the problem before continuing. There are some situations where it is appropriate to answer NO, make corrections, and try again. There are other situations where you must continue, even with the errors.
If the error is a duplicate invoice number due to an incorrect starting invoice number, you should cancel the post, delete the invoice print file, and start the invoice option again. If the problem is with a general ledger account number, you should cancel the post, delete the invoice print file, correct the account number problem and start the invoice option again. If the error is with a timecard, you cannot do anything to the timecard once paychecks have been posted. Call SkilMatch for assistance.
If you need to cancel the post, key NO and press (enter), and the screen will confirm the cancel.
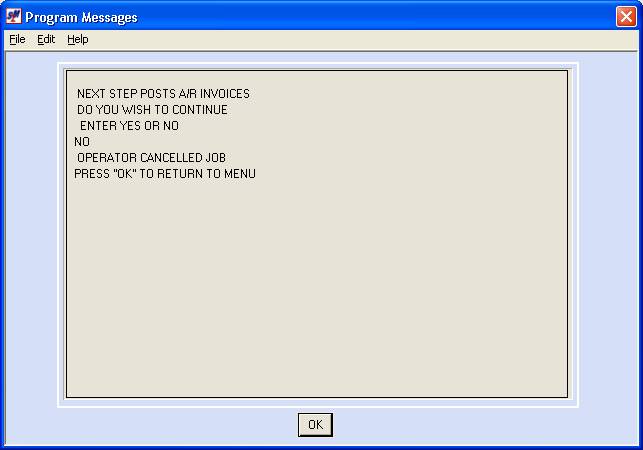
Click [OK] to confirm that you know the job is cancelled. You will be returned to the “Payroll Processing” menu.
After
you have approved the edit report and have looked through the invoice print
file, you are ready to post. Many
customers prefer to print the actual invoices before posting. As long as you have approved the edit and
reviewed the invoices, you may post before doing the actual printing.
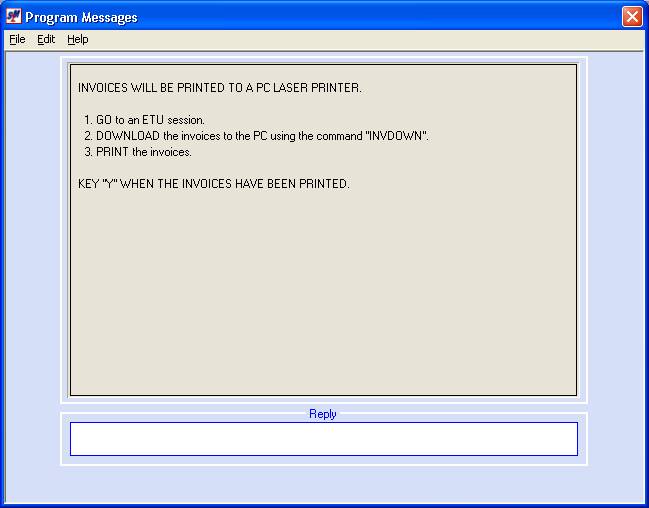
If you wish to print your invoices before posting, you will
temporarily leave the screen as is without responding, and will go to another
document for instructions on printing.
For assistance with printing invoices not using CAC, click How To
Print.
For
assistance printing CAC, click INV.
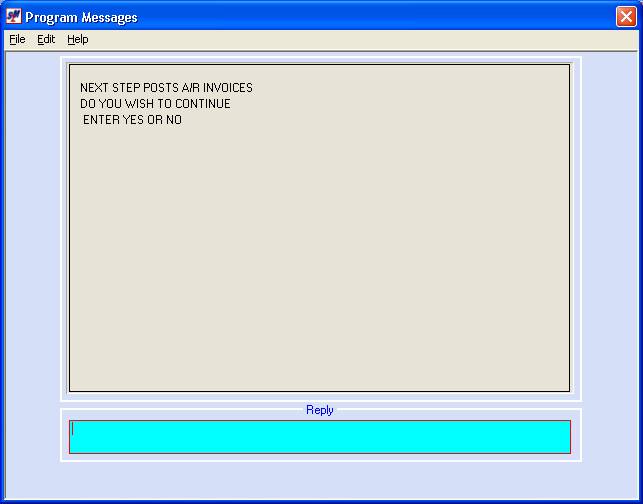
Once you are ready to post the invoices to Accounts Receivable and General Ledger, key YES and press (enter).
Once you reply YES, the screen will display:
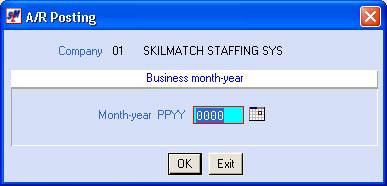
Month-Year PPYY:
The fiscal
period may be keyed (without punctuation) or may be selected by clicking the ![]() button (prompt and select button) to the
right of dates throughout SkilMatch2. The
button (prompt and select button) to the
right of dates throughout SkilMatch2. The ![]() button will display a calendar from which you
may click on a date to select, and then click [OK]
to select the date.
button will display a calendar from which you
may click on a date to select, and then click [OK]
to select the date.
The screen will display:
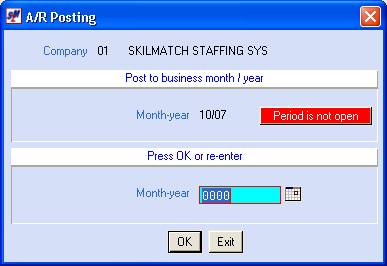
The system will check to
see if this fiscal period and year is ‘valid’.
If it is not valid, a message will display in red. Either change the month and year to a valid
combination, or go to the General Ledger Maintenance menu and use the GL
Posting Periods option to make this combination valid. (see GL Posting periods for more information
on valid posting periods).
If the date shown is NOT correct, re-key, and click [OK].
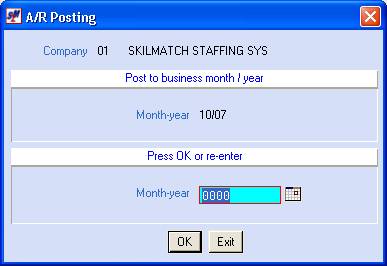
If the date shown is correct, do NOT re-key, just click [OK].
Once you have verified that the date is correct by clicking [OK] that second time, the system will add one or two reports to your output queue as the result of posting. The system will produce the Accounts Receivable Invoice Register (AR130), and if the Invoice Reprint option is active, a report named INVSAV.
(You do not need to keep the
Invoice edit.)
The next screen will display:

Click [OK].
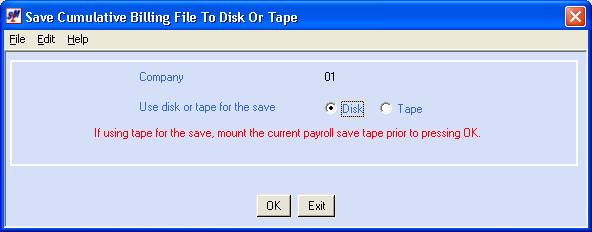
Use Disk or Tape for the save:
To save to disk (AS/400 hard drive), click once on the option (a black dot will appear next to the selection). SM/E users MUST save to DISK.
If you own your server, and if you do not have a large amount of disk space, we recommend saving to TAPE.
Refer to Saving to Disk for further instructions.
To save to tape, select tape by clicking once on the option (a black dot will appear next to the selection).
Refer to Saving to Tape for further instructions.
To NOT proceed, click [Exit]. You will be returned to the “PayBill Payroll Updating” menu.
To proceed, click [OK].
If you chose to save to tape, the screen will display:
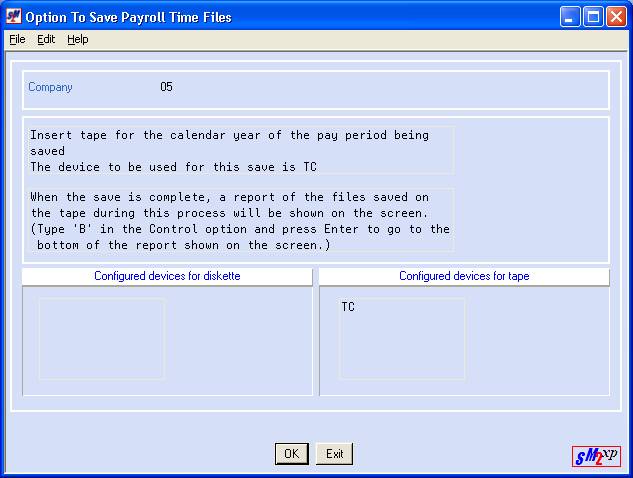
Insert the appropriate tape (your payroll tape for the calendar year of the payroll being saved).
To NOT proceed, click [Exit]. You will be returned to the “PayBill Payroll Updating” menu.
To proceed, click [OK].
Your screen will remain
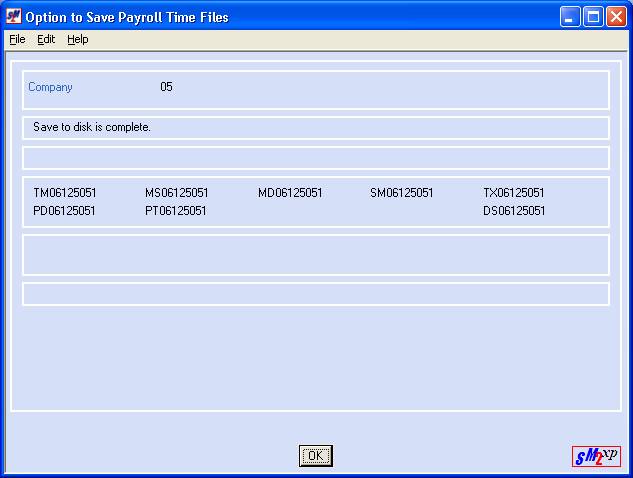
“input inhibited” (tied up) while the save processes. When processing has completed, the screen will display:

You are viewing a report of the files saved on the
tape.
Key B in the control area and click [OK] to go to the bottom of the report. At the bottom of the report, END OF LISTING will display; you may use this to confirm you are at the bottom.
Check the following:
Save date and time – it should be the current date and time.
You will always have the following files saved:
TCmmddyxxa (timesheets)
SCmmddyxxa (special invoice sort)
XCmmddyxxa (taxes)
DCmmddyxxa (deductions)
NCmmddyxxa (summary deductions)
Mcmmddyxxa (check messages)
(mmddy = Week ending month, week ending day, last digit of week ending year)
(xx = 2-digit company number)
(a = sequence number 0-9, then A-Z. 0 means first payroll processed for this week ending, 1 means 2nd payroll processed for this week ending, 2 means 3rd payroll processed for this week ending, and so on.)
After confirming the above, click [Cancel].
The screen will display:
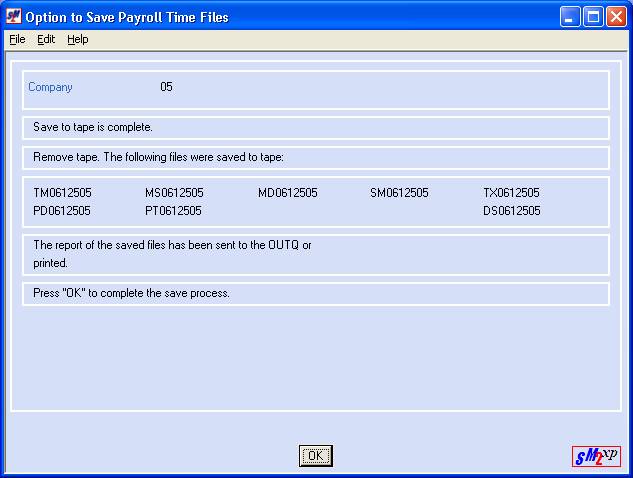
The files saved will be listed on the screen. Click [OK].
You will be returned to the “Cumulative Billing Processing” menu. Remove the tape from the tape reader.
If you chose to save to disk (hard drive of the server), the system will process, and when finished, the screen will display:
The files saved will be listed on the screen. Since no report of the saved files is produced, we suggest you click the SM2 button in the top left corner and produce a print screen to keep with your payroll reports.
Click [OK] to complete the save process.
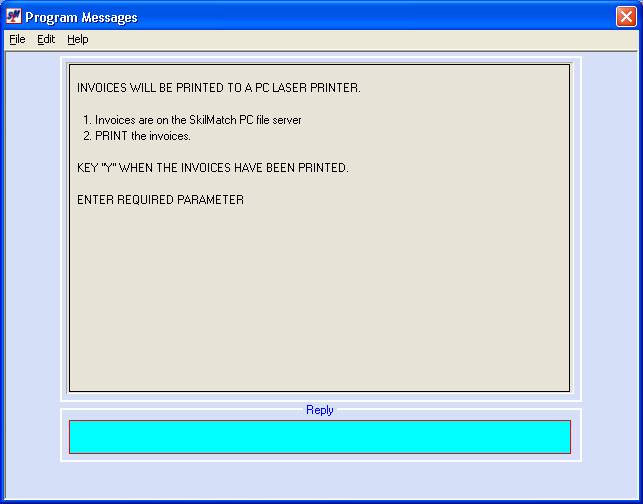
If you delayed the actual printing of invoices until after you finished the posting step, you should print your invoices now. Delaying the printing could result in someone accidentally deleting your print file!
For assistance with printing invoices not using CAC, click How To
Print.
For
assistance printing CAC invoices to a laser printer, click INV.
Reprinting An Original
Invoice:
There are 3 possible ways to reprint an original invoice.
(1) If you print invoices to a laser printer using CAC, you may be able to reprint an invoice using the CAC PC laser printer program.
OR
(2) If
you do NOT print invoices using CAC, or if the invoice no longer exists in CAC,
and IF your system utilizes the REPRINTINV file, you may
reprint an invoice by keying INVRP on a command line. Click [INVRP] to move forward in this document
to instructions.
OR
(3) IF your system utilizes the REPRINTINV file, you may also reprint an
invoice from Accounts Receivable. Click
[Inquiry] to move forward in this document to instructions.
If the
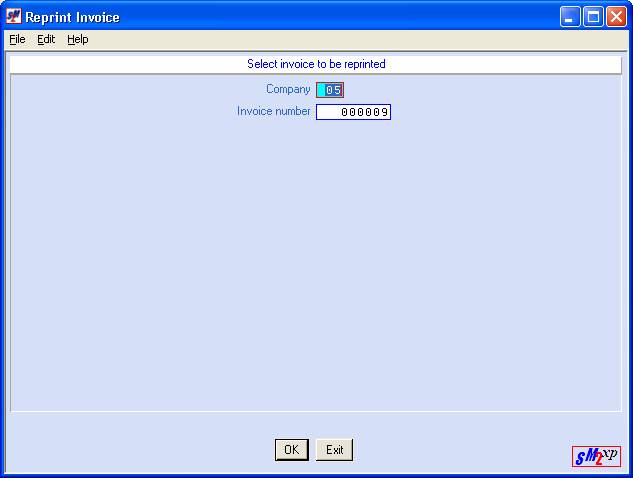
file exists on your system and if you key INVRP on a command line and click [OK], the screen will display:
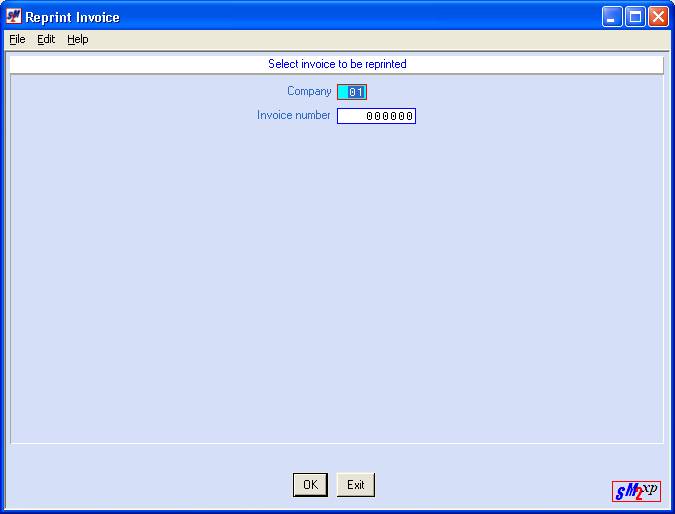
Company Number:
Defaults
to company 01. To reprint an invoice
for a different company number, key the desired company number.
Invoice Number:
Key the
number of the invoice you wish to reprint.
(If you have multiple invoices to print, you must process them one at a
time.)
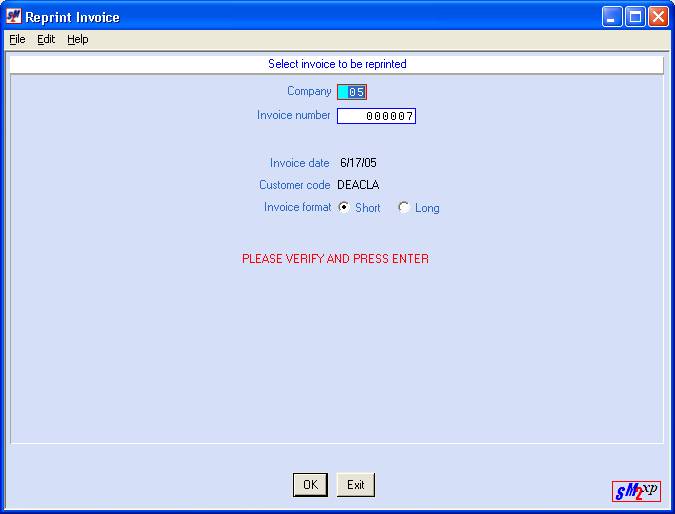
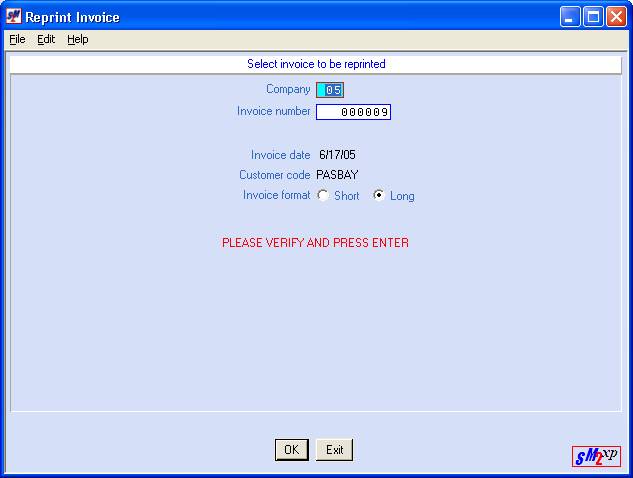
The system will display the customer code, invoice date, and invoice format so that you can verify that this is correct invoice number. If correct, click [OK]. If incorrect, click [Exit]. From this point forward, use your standard procedures for printing the actual invoice.
Inquiry
To reprint an invoice from the Accounts Receivable library, begin by selecting [Receivables] from the left column of library selections while on any Master menu.

The screen will display:
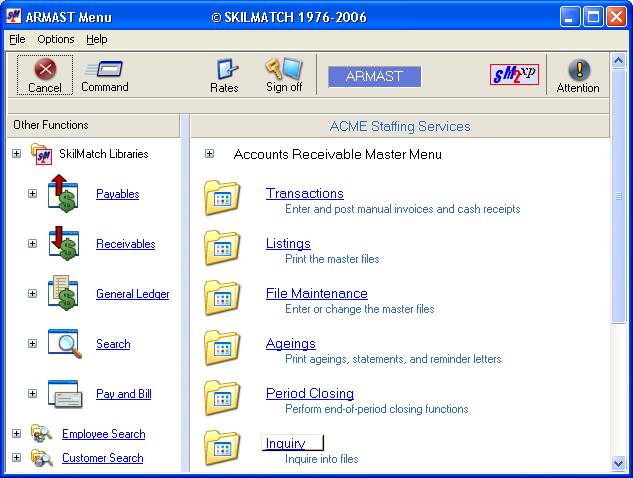
Click [Inquiry]. The screen will display:
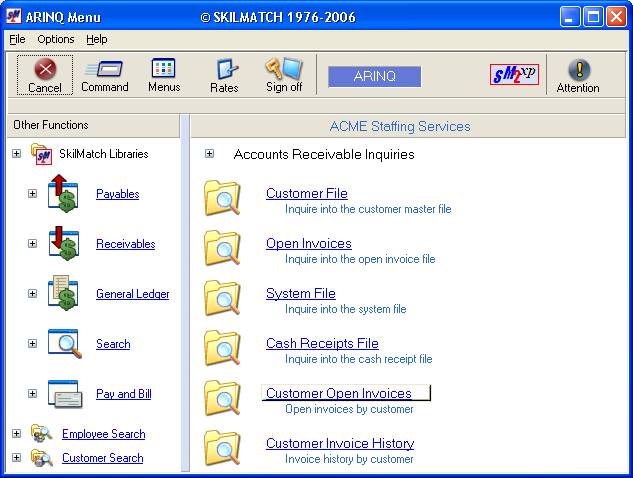
Click [Customer Open Invoices]. The screen will display:
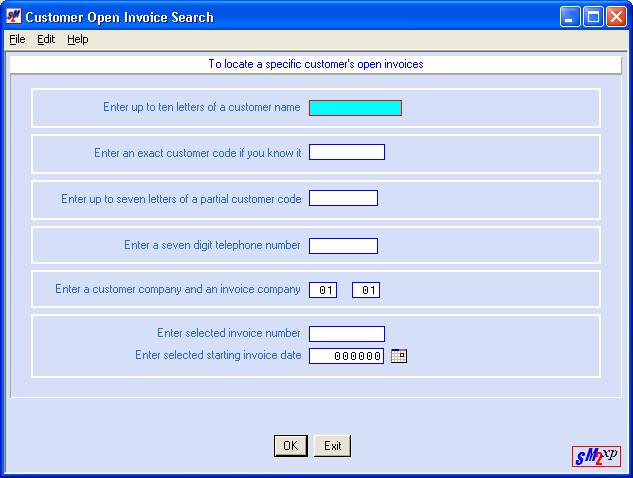
Choose to go to a list of open invoices (any invoice not currently at a zero balance) for a customer, or go to a specific invoice for a customer, or begin the list of open invoices at a certain date.
Locate the customer by either part of the name, the exact cuscode, part of the cuscode, or by the telephone number. The system does not allow you to locate a selected invoice number, or invoices starting at a specific date without also identifying the customer. You CANNOT key just an invoice number or date!
Once the customer has been identified, a list of open invoice(s) will display:
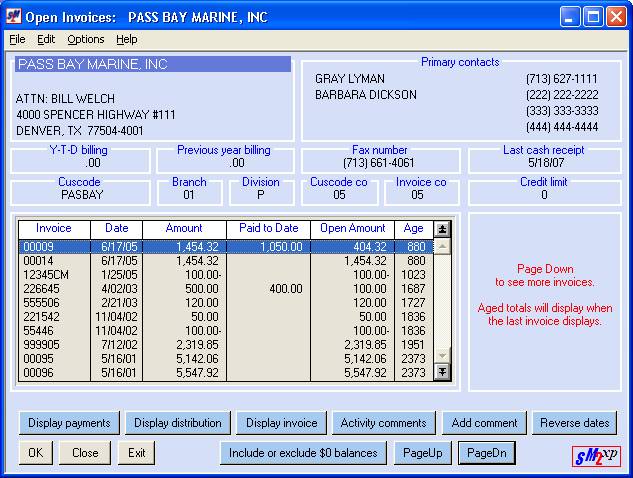
(This screen is an example only – your screen will differ.)
Highlight the invoice you want to reprint, and click the [Display invoice] button. The screen will display:
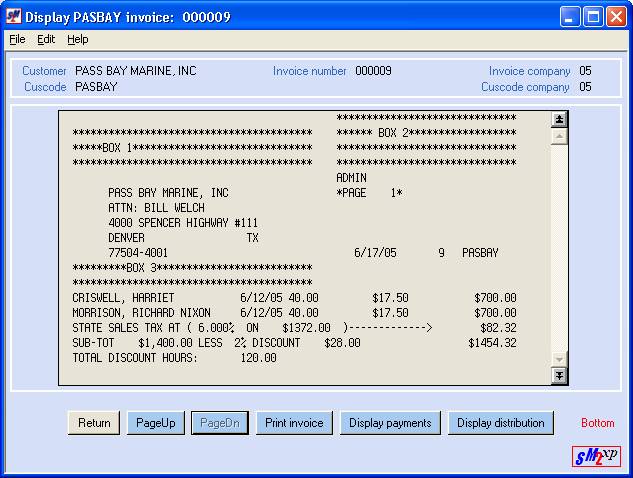
Verify that this is the invoice you want to reprint. If no, click the [Return] button and locate the correct invoice. If yes, click the [Print invoice] button. The screen will display:
The system will display the Company number and invoice number. Click [OK] to continue, or [Exit] to NOT continue and return to the invoice detail.
If you chose to continue, the screen will display:
The system will display the customer code, invoice date, and invoice format so that you can verify that this is correct invoice number. If correct, click [OK]. If incorrect, click [Exit]. From this point forward, use your standard procedures for printing the actual invoice.
For assistance with printing invoices not using CAC, click How
To Print.
For
assistance printing CAC, click INV.