PRINT (A List of Outstanding and Reconciled Checks)
This option creates the Bank Reconciliation report
(named PB610). The report includes a
list of:
Paychecks
marked as reconciled
Paychecks
considered outstanding
Paychecks
voided since the previous bank rec update, or marked as voided
NOTE: Temporary payroll checks and staff payroll checks post to the same internal check file. If staff checks are written from the same bank account as temporary checks, then staff paycheck information will print on the same Bank reconciliation report intermingled with temporary paycheck information, despite the fact you are processing the report from the Pay Bill library!
Or, if you have a separate bank account for staff paychecks, but you choose to print ALL bank accounts when processing the report, then staff paycheck information will be printed!
(Staff names do not print on the report, just check number, check amount, and social security number will be printed)
Use this report to verify the accuracy of check entries
made through PayBill Bank Functions, Item Enter and PayBill Bank Functions, Item Enter Range. The total amount of checks reconciled should
equal the amount of checks cleared on your bank statement. If the amounts do not match, then you have
either made an error when you entered the reconciled checks, or the bank made
an error when they cleared one or more checks.
If you find errors on the report that are a result
of mistakes made when you marked checks as reconciled, go back to the PayBill Bank Functions, Item Enter option to make corrections.
If the bank made errors when they cleared the
check(s), then you will need to make a General Ledger Journal entry to account
for the difference in amounts. After you
have finished all of the Bank Reconciliation steps, go to the General Ledger
library and make the necessary entries.
CHECKLIST: Remember, there are multiple steps involved in completing Bank Reconciliation. To process a complete Bank Reconciliation,
you must perform the following steps:
1) Mark
checks as reconciled.
2) Print
a list of reconciled, deleted, and voided checks
3) Verify
that the list is correct, and balance against your bank statement (Make any
correction and Re-print/Verify.)
4) Update
the Bank Reconciliation file – which removes the reconciled checks
THIS MENU OPTION IS PASSWORD PROTECTED. Be very careful about sharing the Bank Reconciliation
password with users!
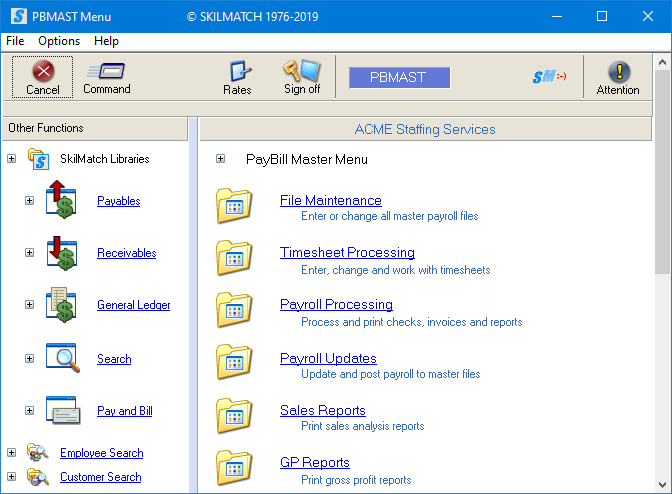
To begin, in the main menu in the Pay and Bill
library.
Next, scroll down or right click and select [Bank
Functions].
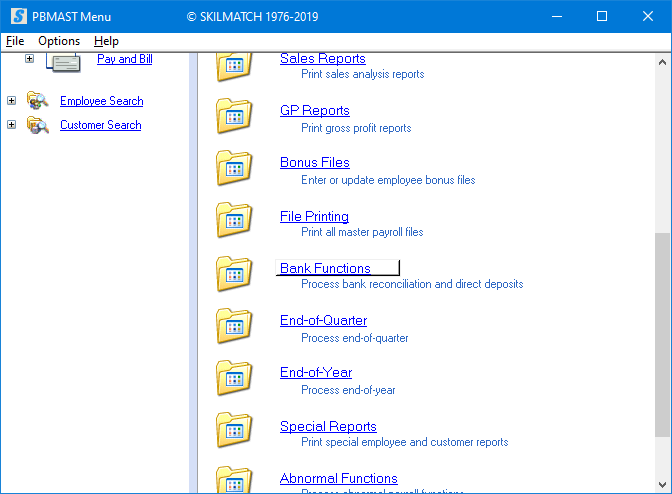
The screen will display:
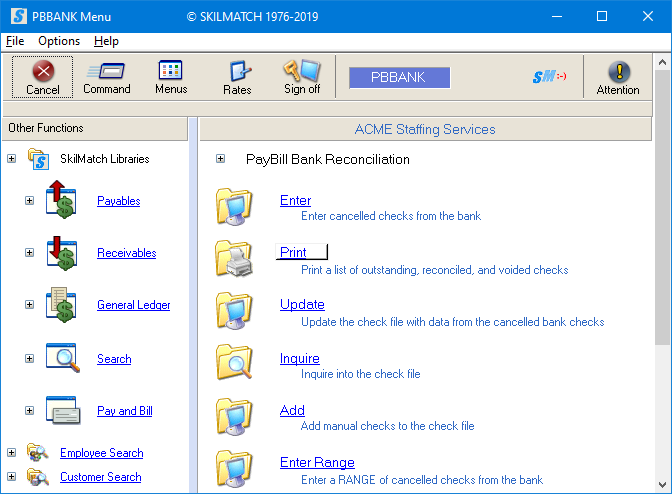
Click [Print], the screen will
display:
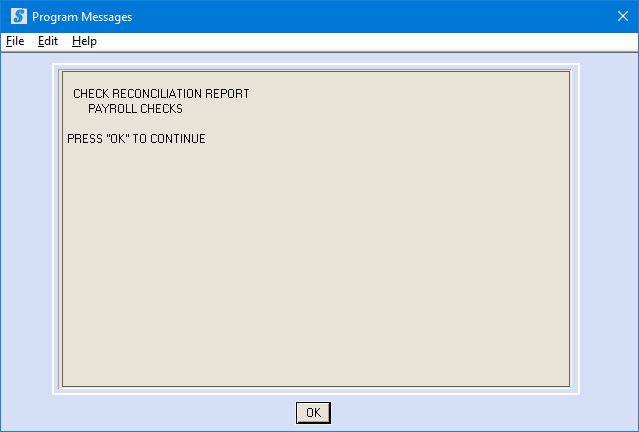
If click [OK] to continue, the screen will display:
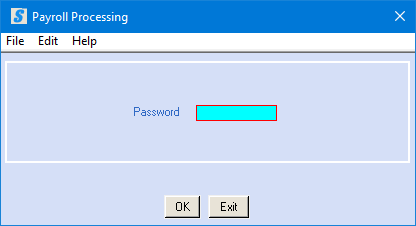
Password:
Key the bank reconciliation password. If you do not know the password, see your
manager.
To continue, click [OK].
OR
To cancel and return to menu, click [Exit]. You will be returned to the “PayBill library,
Bank Functions menu”.
If click [OK] to continue, the screen will display:
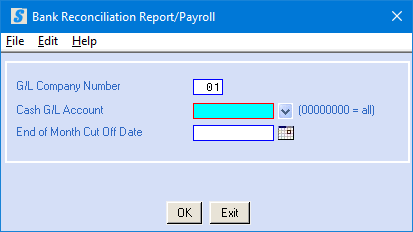
G/L Company Number:
Defaults to company 01. To print the report for a different company,
key the desired company number.
Cash G/L Account:
Key the bank account number desired for reporting
purposes, or key zero if you wish to print the report for all cash accounts.
OR
Click the ![]() button (prompt and select) to the right for a
valid list of bank accounts.
button (prompt and select) to the right for a
valid list of bank accounts.
End of Month Cut Off Date:
You should use the date of
the bank statement to which you are balancing.
The date may be keyed (without punctuation) or may be selected by
clicking the ![]() button (prompt and select button) to the right
of dates. The
button (prompt and select button) to the right
of dates. The ![]() button will display a calendar from which you
may click on a date to select, and then click [OK]
to key the date.
button will display a calendar from which you
may click on a date to select, and then click [OK]
to key the date.
To continue, click [OK]. Your screen will remain “input inhibited”
(hour glass displayed) while the option processes. When processing has completed, you will be
returned to the “PayBill library, Bank Functions menu”.
OR
To cancel and return to menu, click [Exit].
Report Produced:
Check information from the SkilMatch check file will
display on the Bank Reconciliation Report (PB610). Any check in the file dated after the end of
month (EOM) cutoff date that was selected will NOT be included on this report.
The report will display end of month (EOM) cutoff
date selected, and the date the report was created, as well as the G/L Company
number and Cash account number selected.
There is a column for the employee social security number, employee
name, check date, and check number.
If the check has not been marked for reconciliation,
then the dollar amount the check was written for appears under the column
heading OUTSTANDING. If the check has
been marked for reconciliation, then the dollar amount entered as the reconciled
amount will display under the column heading RECONCILED. If the check was voided, then the check
amount, and a void date, will display.
If you selected to print more than one bank account,
then the report will page break into sections according to bank account number.
The final page of each account will list dollar totals and check number totals
for each column of outstanding checks, reconciled checks and voided checks.
If checks were cleared by using the electronic
interface, you may also have printed information about checks included in the
transfer file from the bank that do not match an existing check in the
SkilMatch check file. You will need to
investigate any checks that print in this section.
Verify Accuracy:
The total amount of checks reconciled should equal
the amount of checks cleared on your bank statement. If the amounts do not match, then you have
either made an error when you entered the reconciled checks, or the bank made
an error when they cleared one or more checks.
Check left out of previous entry:
If you neglected to mark a check as reconciled,
simply use the menu option “Enter” to go back into the check file
to mark the check as reconciled.
Check marked as reconciled by accident:
If the reconciled total on the report does not match
the bank statement because a check was coded as reconciled by mistake, go back
into menu option “Enter”. Re-enter the Check
number and Check amount, select the
Deleted code, and key a Reconciliation date. This does NOT delete the check from the
SkilMatch check file, but it does delete it from the reconciled column, and
puts it back as OUTSTANDING.
Check reconciled with incorrect amount:
If the reconciled total on the report does not match
the bank statement because a check was coded as reconciled, but the wrong
amount was keyed, go back into menu option “Enter”. Re-enter the Check number, the correct Check amount, select the
Reconciled code, and key a Reconciliation date.
This will correct the amount.
Check number does not exist in SkilMatch:
This is a symptom of a much larger problem. Since check numbers are added to Bank
reconciliation as a part of some other process, it is possible that the other
process did not complete correctly. You
will need to research and find out if Bank rec is the only place where a
failure occurred.
IMPORTANT: If a check number has cleared your bank, but
is not in the SkilMatch check file, it may be that an entire process was
skipped. Example: If an advance check was written to an
employee, and cashed by the employee, but the advance check was never processed
in SkilMatch as either an Advance check, or as a Prepaid check, then the
employee’s earnings are not accurate, the G/L accounts are not accurate,
payroll taxes have not been paid, etc.
OR
Perhaps
an advance check was written, but a mistake was made when the check number was
keyed, so that the number in SkilMatch does not match the number cleared by the
bank – but the amount is correct.
If you find errors on the report, go back to Menu Bank Functions, Item Enter. Follow the procedures as if you were entering
a new check number.
If you have entered a wrong amount or code, simply
move the cursor to the area and key over the existing information.
If you make corrections, you should print another Bank Reconciliation report to once again verify
accuracy of the report.
Remember, you are not yet finished with the complete
Bank reconciliation process! Once the
report is accurate, you are ready to update the SkilMatch check file. Select PayBill Bank Functions menu, Item Update.