ENTER (Cancelled Bank Checks)
During the [Print Checks]
option in payroll processing, paychecks are posted to the SkilMatch check file
when you respond to the question ‘Add checks to the bank reconciliation
file’? Paycheck data accumulates in the
check file - it does not automatically purge itself over time. As a result, we recommend that each month,
when you receive your bank statement, you should reconcile and remove the
cleared checks from the SkilMatch check file.
CHECKLIST: To process a complete Bank Reconciliation,
you must perform the following steps:
1) Mark checks as reconciled.
2) Print a
list of reconciled, deleted, and voided checks
3) Verify
that the list is correct, and balance against your bank statement
4) Update
the Bank reconciliation file – which gives you the option to remove the
reconciled checks
There are 3
different methods available for marking checks as reconciled through
SkilMatch.
One option requires the purchase and installation of a custom
interface that will bring in a file of cleared check from your bank. This is the most efficient method of clearing
large groups of payroll checks. Contact
your SkilMatch sales rep for more information.
A second option
– no
interface program required - permits the ‘clearing’
of a range of check numbers. This
may be the second most efficient method of marking checks as reconciled. The system will ‘assume’ that the bank
cleared the check for the same amount as it was written from SkilMatch. This documentation/menu option are located on
menu Bank Functions, item Enter Range.
The final
choice –
described in this document - requires you to mark each individual check as reconciled. There is no interface program required for
this option. Instead, you are required
to key individual amounts for each check cleared by the bank, using the bank
statement. This method is more time
consuming, but the system will notify you immediately if the check amount
cleared by the bank differs from the amount written in SkilMatch.
If you prefer to clear a range of check numbers,
rather than clearing them individually, please refer to the instructions for Enter Range
of Checks.
The following instructions are for marking check
individually.
NOTE:
Temporary payroll checks and staff payroll checks post to the same
internal check file. Staff, who do not
have authority to staff payroll, may gain access to staff paycheck data by
using this option if:
(1) The staff member knows the bank rec password,
(2) The staff member knows the cash account number for staff payroll,
or
(3) Temporary payroll and staff payroll use the same cash account
number
Correcting problems found
on Bank Rec Report
NOTE: Only one person can enter cleared checks for
a bank account number at a time.
THIS MENU OPTION IS PASSWORD PROTECTED. Be very careful about sharing the Bank Reconciliation
password with users!
To begin, in the main menu in the Pay and Bill
library.
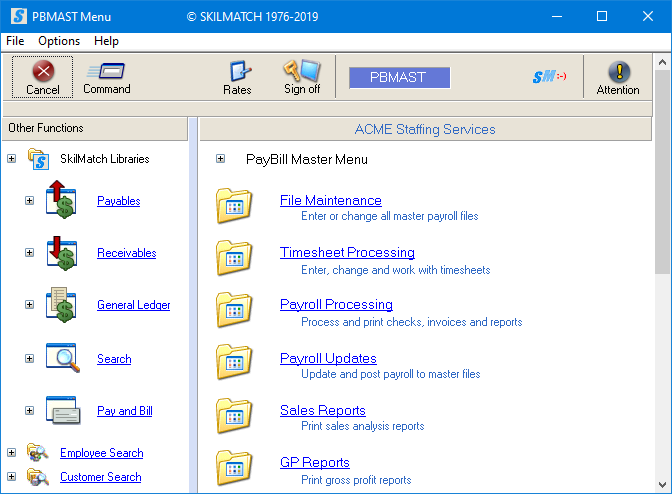
Next, scroll down or right click and select [Bank
Functions].
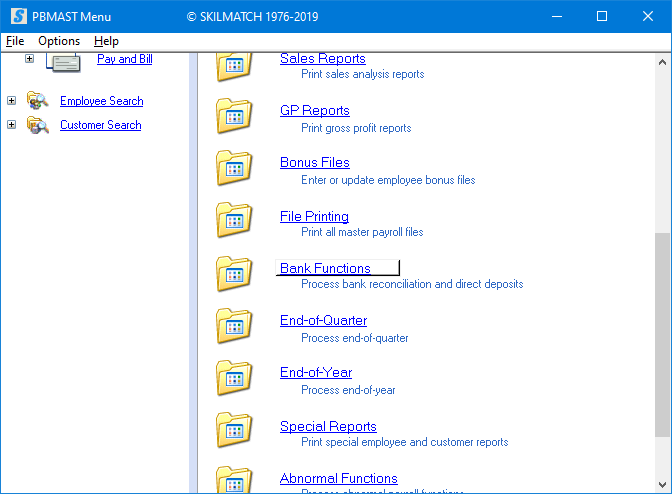
The screen will display:
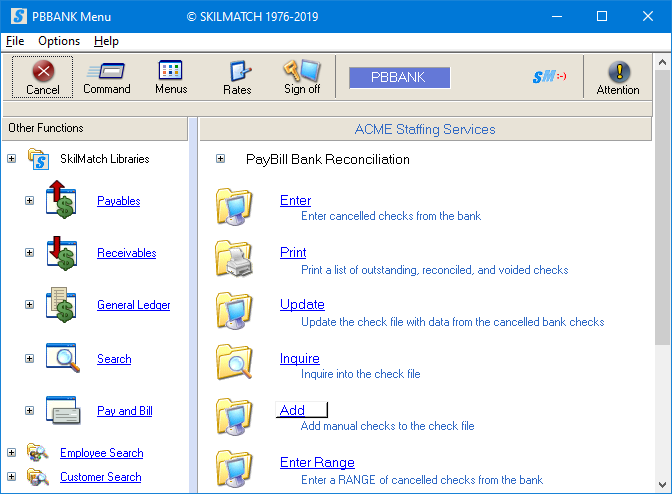
Click [Enter], the screen will
display:
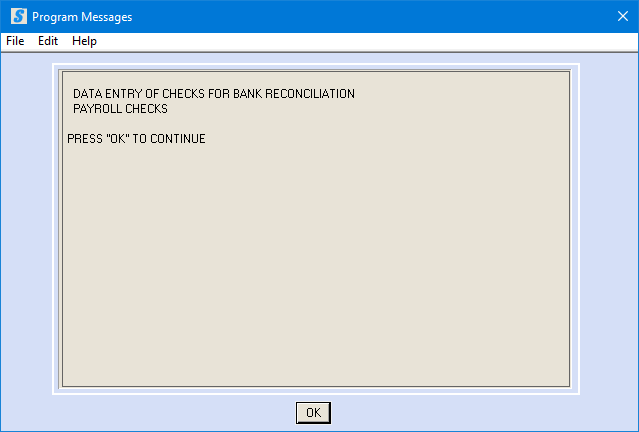
Click [OK] to continue.
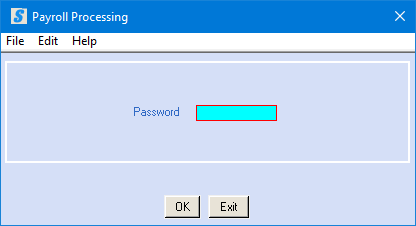
Password:
Key the bank reconciliation password. If you do not know the password, see your
manager.
To continue, click [OK].
OR
To cancel and return to menu, click [Exit]. You will be returned to the “PayBill library,
Bank Functions menu”.
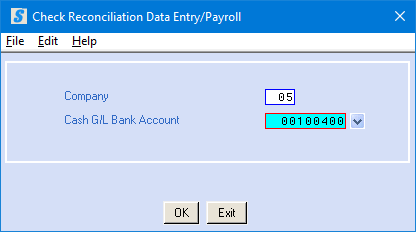
If click [OK] to continue, the screen will display:
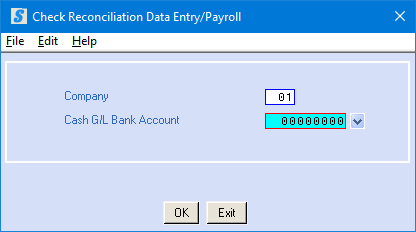
Company Number:
Defaults to company 01. To reconcile checks for a different company,
key the desired company number.
Cash G/L Bank Account:
Key the bank account number from which the checks
were issued, click the ![]() button (prompt and select) to the right for a
valid list of bank accounts.
button (prompt and select) to the right for a
valid list of bank accounts.
To continue, click [OK].
OR
To cancel and return to menu, click [Exit]. You will be returned to the “PayBill library,
Bank Functions menu”.
If click [OK] to continue, the screen will display:

Check Number:
Key the check number assigned to this check by the
system. Use the check number printed on
the check, not the pre-printed check number.
Check Amount:
Key the amount of the check. Use the amount cleared by the bank (the
amount coded at the bottom of the check), not the SkilMatch-generated
amount. The coded amount is the amount
actually cleared by the bank; it does not always match the issued amount of the
check.
Code:
Select Reconciled to clear this check. A black dot will appear next to your
selection.
OR
Select Deleted if this check has been marked
for reconciliation in error. This will
move the check back into the outstanding column in the Bank reconciliation
file. A black dot will appear next to
your selection.
OR
Select Voided to remove this check from the
bank reconciliation check file. Use this
code with caution – it exists to handle inaccurate check numbers in the bank
reconciliation file.
(NOTE: This code is used strictly for removing check
numbers from bank rec ONLY – this does NOT affect the employee’s earnings, nor
figures in the General Ledger!)
Reconciliation Date:
The reconciliation date is
generally the date on your bank statement.
Key the reconciliation date (without punctuation) or select a date by
clicking the ![]() button to the right of dates. The
button to the right of dates. The ![]() button will display a calendar from which you
may click on a date to select, and then click [OK]
to key the date.
button will display a calendar from which you
may click on a date to select, and then click [OK]
to key the date.
Voided Check Date:
The Voided check date can be
the same as the reconciliation date, or any date that you choose to print
beside a check marked as VOIDED. Key a
date (without punctuation), or select a date by clicking the ![]() button to the right of dates. The
button to the right of dates. The ![]() button will display a calendar from which you
may click on a date to select, and then click [OK]
to key the date.
button will display a calendar from which you
may click on a date to select, and then click [OK]
to key the date.
When have keyed the information for this check, click
[OK].
The system will validate the data you keyed. If no errors are found, you are ready to
enter the next check number to be reconciled.
The previous check number appears on the screen to help you keep your
place when entering check numbers. Key
the next check number over the one displayed.
If the banks reconciled amount does not match the issued amount of the check, the screen will
display:
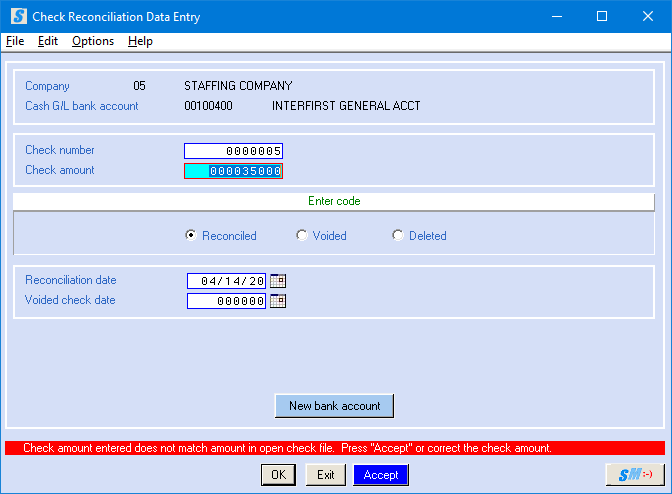
If you made a keying error, you may change the check
amount and click [OK] again.
If the error is on the bank’s side, click [Accept] to accept with the amount as entered. There will be an error message that will
print beside this item when you print an Edit report, and the total SkilMatch
amount at the bottom of the report will not match the Bank amount. (See
additional instructions in the Print and Update documents)
Check Not In Bank Rec File:
If you enter a check number that is not in the check
file, the screen will display:
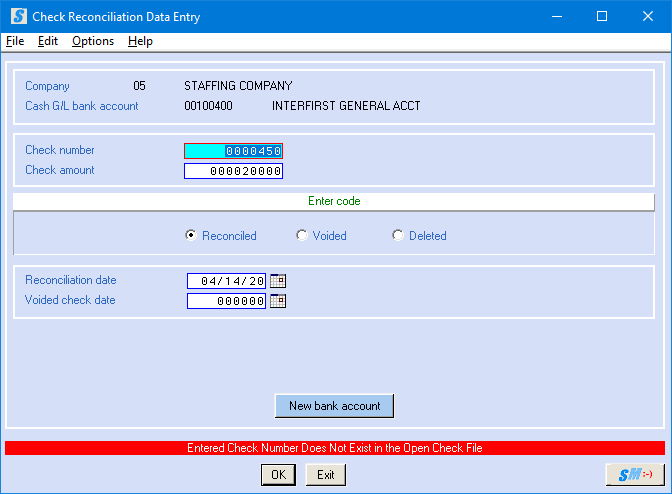
Make certain you have keyed the correct check
number. If the system cannot locate this
check number, then one of several scenarios could exist. It is not unheard of to have printed and
mailed one set of check numbers, but to have ultimately posted a different set
of numbers to bank reconciliation. This
would have occurred by processing the [Print Check]
option more than one time, answering NO to post to bank rec the first time, and
answering YES the second time, then mailing the checks produced by the first
process.
If you find a range of check numbers from your bank
statement that do not exist in the SkilMatch check file, call SkilMatch
software support to discuss the options for correcting this situation.
You CANNOT reconcile a check number that does not
exist in the SkilMatch check file. If
you find that a check number was added inaccurately to the bank reconciliation
file, then you will need to mark the inaccurate check number as VOIDED, and add
the accurate number to the check file manually, using PayBill Bank Functions
menu, Item ADD.
Continue to follow the preceding steps until all the
cleared checks for this bank account number have been entered. When all checks have been entered, click [Exit]. You will return to menu.
New Bank Account:
If you have checks to enter for a different bank
account, rather than clicking [Exit], click [New Bank Account].
The screen will display:
The screen will show the prior Company Number and
Cash G/L Bank Account that was being updated, enter the new bank account
information and proceed as before.
Company Number:
To reconcile checks for a different company, key the
desired company number.
Cash G/L Bank Account:
Key the bank account number from which the checks
were issued, click the ![]() button (prompt and select) to the right for a
valid list of bank accounts.
button (prompt and select) to the right for a
valid list of bank accounts.
To continue, click [OK].
OR
To cancel and return to menu, click [Exit]. You will be returned to the “PayBill library,
Bank Functions menu”.
When you have finished entering checks to be
reconciled, click [Exit] to return to the “PayBill library,
Bank Functions menu”. There is no report
created by this option (see menu option “Print”).
You should verify the accuracy of your data entry by
processing PayBill Bank Functions, Item Print and inspecting the report.
Check left out of previous entry:
If you neglected to mark a check as reconciled,
simply follow the instructions above and go back into the check file to mark the check as reconciled.
Check marked as reconciled by accident:
If the reconciled total on the report does not match
the bank statement because a check was coded as reconciled by mistake, go back
into menu option above, “Enter”. Re-enter the Check number and Check amount, select the Deleted code, and key a Reconciliation
date. This does NOT delete the check
from the SkilMatch check file, but it does delete it from the reconciled
column, and puts it back as OUTSTANDING.
Check reconciled with incorrect amount:
If the reconciled total on the report does not match
the bank statement because a check was coded as reconciled, but the wrong
amount was keyed, go back into menu option above, “Enter”. Re-enter the Check
number, the correct Check amount,
select the Reconciled code, and key a Reconciliation date. This will correct the amount.
Check number does not exist in SkilMatch:
This is a symptom of a much larger problem. Since check numbers are added to Bank Reconciliation
as a part of some other process, it is possible that the other process did not
complete correctly. You will need to
research and find out if Bank rec is the only place where a failure occurred.
IMPORTANT: If a check number has cleared your bank, but
is not in the SkilMatch check file, it may be that an entire process was
skipped. Example: If an advance check was written to an
employee, and cashed by the employee, but the advance check was never processed
in SkilMatch as either an Advance check, or as a Prepaid check, then the
employee’s earnings are not accurate, the G/L accounts are not accurate,
payroll taxes have not been paid, etc.
OR
Perhaps
an advance check was written, but a mistake was made when the check number was
keyed, so that the number in SkilMatch does not match the number cleared by the
bank – but the amount is correct.
If you make corrections, you should print another Bank Reconciliation report to once again verify
accuracy of the report.
Remember that entry of reconciled checks is only the
first step in the Bank reconciliation process!
Please continue the process by proceeding to PayBill Bank Functions menu, Item Print.