TO PRINT OR DISPLAY PRINT ITEMS
Note: printed items in SkilMatch do not
automatically print. Print items are
sent to your outq (an outq is a file where your print items are kept). You can then go to your outq and decide what
to do with each print item. You may
wish to display and then delete. You
may wish to print.
To
begin, click “Attention” from any SkilMatch screen. On screens where “Attention” does not appear, you may click
“File” in the top left corner of the screen.
Then select “Attention Program”.
The
screen will display:
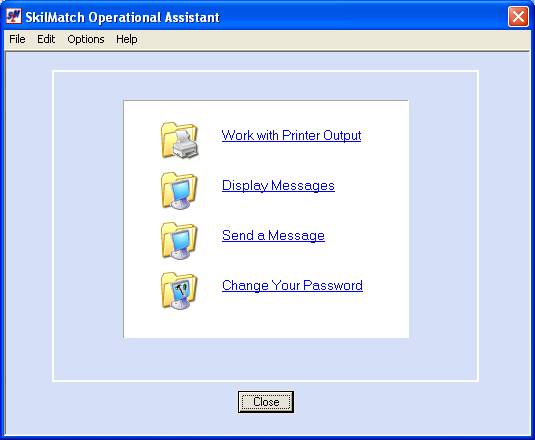
Click “Work With
Printer Output”.
The screen will display:
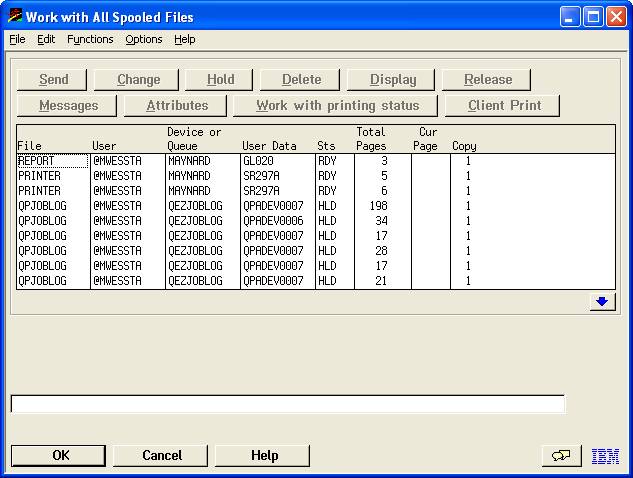
Your print files will
display. Note: the print files on your system may differ
from those displayed above.
Look under the STS
(Status) column. Ready (RDY) items will
always display on top of Held (HLD) items.
Your most recent report request will be the last RDY item. Do not delete job logs (QPJOBLOG) – used for programmer analysis should
you encounter problems! These joblogs
are automatically Held, and will disappear when 7 days old.
The
USER DATA column may help you to identify the print file you want to display or
print. Once you locate the print file,
click once to highlight it. You may
then either:
(1) Display the item by clicking [Display].
Go to the top or bottom of the report by keying a T or B in the
“Control” field. Go to a specific page
by keying P(space)XX – where XX is the page number. Example: P 13 Or, go to a specific word or number in the
print file by keying the numbers or characters in the “FIND” area and pressing
(F16).
OR
(2) Delete the item by clicking [Delete].
On a second screen you will be asked to confirm your choice to delete.
OR
(3) Print the item to any PC printer you have access to by clicking [Client Print]. The item will print, but will remain in the
outq until you delete it.
OR
(4) Print the item to any AS/400 printer by clicking [Change]. The screen will display:
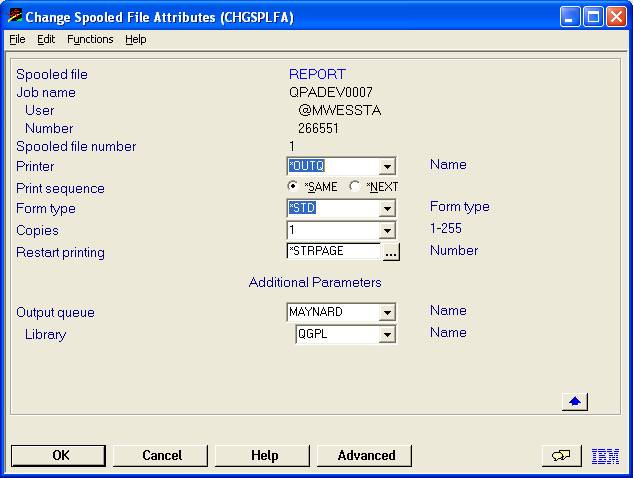
PRINTER
Key the desired printer
ID in the PRINTER area that currently displays OUTQ.
Note: you
must know your printer IDs. Your
choices will NOT be listed if you click the ![]() button (prompt and select button) to the
right of the printer area.
button (prompt and select button) to the
right of the printer area.
FORM TYPE
The
system will display the type of paper that is needed for this print file. You would not normally make a change to the
type that is displayed.
Click
[OK]. The print item will be sent to the printer.
When
you have finished with this screen, click [Cancel] until you are back to a SkilMatch
screen. The item will disappear from
your outq.
TO PRINT MORE THAN ONE ITEM AT A
TIME
If
you have 2 or more items that display on the same screen that you wish to
print:
Note: the items must all be displayed on the same
screen; you cannot print more than one item at a time if the items are
displayed on different screens.
(1) Click once on the first print item to highlight it. Hold the CTRL key and click once on the
second print item to highlight it.
(2) Print the items to any PC printer you have access to by clicking [Client Print].
OR
(3) Print the item to any AS/400 printer by:
(a) On the command line, key OUTQ(PRINTERID)
Example: OUTQ(PB) or OUTQ(P1) or OUTQ(LASER)
(b) Click [Change].
All
highlighted items will be sent to the designated printer.