MANUAL CHECK POSTING
This option posts the manual check information entered through Menu Transactions,
Item Manual Check Entry to the appropriate files.
To
begin, select [Transactions] menu in the
Accounts Payable Library.
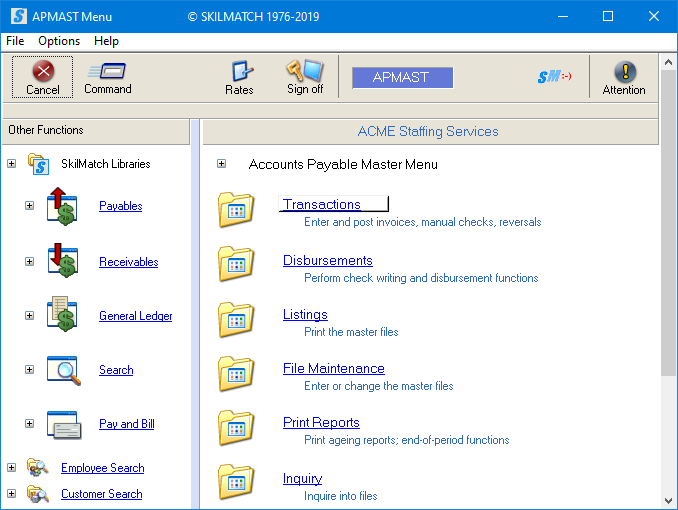
The
screen will display:
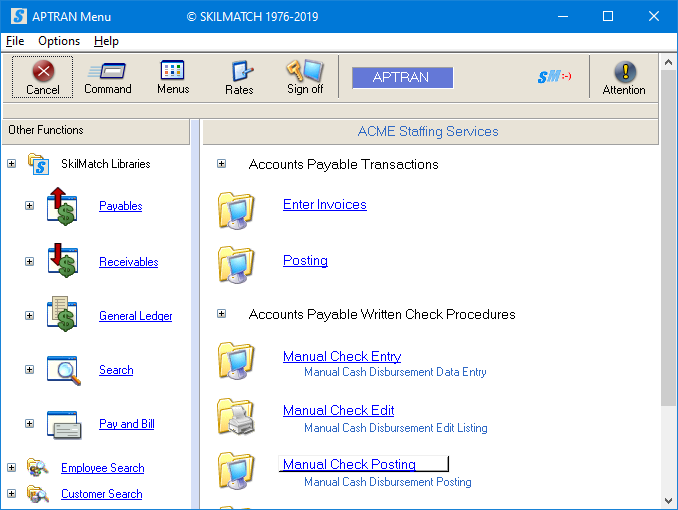
Click
[Manual Check Posting], the screen will
display:
Errors Present:
If your cash disbursement edit still contains errors, the screen will
display:
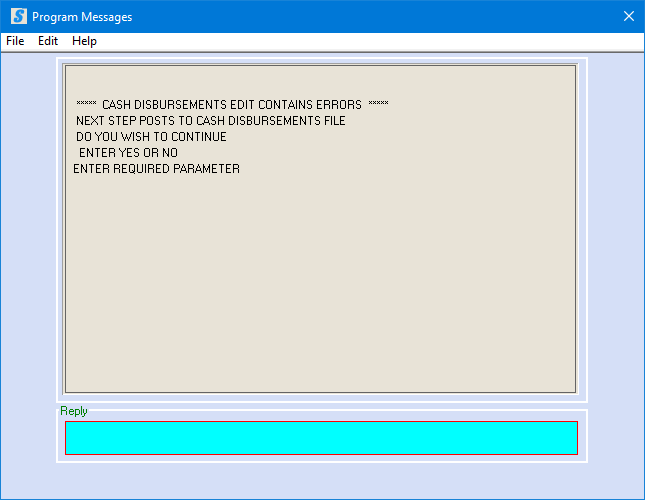
NOTE: If you try to post manual cash
disbursements that have terminal errors (will be noted by ***Will Not Be
Posted), they will NOT be posted, and will
be deleted from the file.
To continue posting with errors, key YES and click [OK]. Refer to posting
instructions for further assistance.
OR
To cancel posting with errors, key NO and click [OK].
Refer to exit instructions for further assistance.
No Errors Present:
If your cash disbursement edit contains NO errors, the screen will
display:
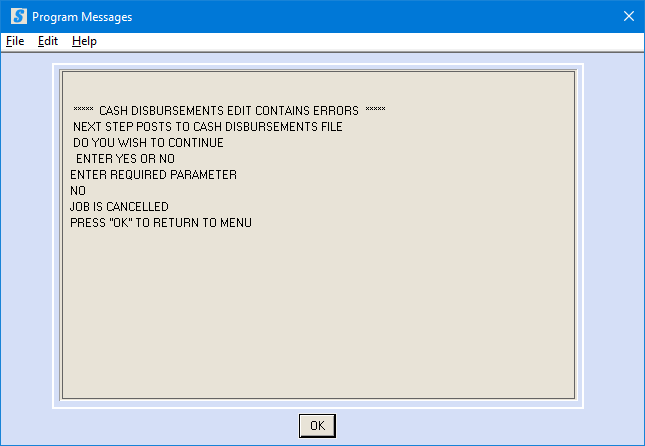
To cancel posting, key NO and press [Enter]. Refer to exit
instructions for further assistance.
OR
To continue posting, key YES and press [Enter].
If you chose to continue posting, the screen will display:

Month/Year:
Key the appropriate fiscal
month and year.
OR
Select a date by clicking the ![]() button (prompt and select button) to the right
of dates. The
button (prompt and select button) to the right
of dates. The ![]() button will display a calendar from which you
may click on a date to select, and then click [OK] to key the date.
button will display a calendar from which you
may click on a date to select, and then click [OK] to key the date.
NOTE: Remember that this will not always correspond
to a calendar year, but is determined strictly by when your fiscal year
begins. Example: If your fiscal year 2018 begins in June, then
July will be keyed as 0218.
Click [OK], the screen will
display:

CONFIRMING: If the date displayed in the top portion of the
screen is correct, click [OK].
OR
If the date displayed is NOT correct, re-key the date and click [OK].
Each time you re-key the date, the date will redisplay for
verification. When the displayed is
correct, click [OK].
OR
Select a date by clicking the ![]() button (prompt and select button) to the right
of dates. The
button (prompt and select button) to the right
of dates. The ![]() button will display a calendar from which you
may click on a date to select, and then click [OK] to key the date.
button will display a calendar from which you
may click on a date to select, and then click [OK] to key the date.
NOTE: Every time
you change the date the system will re-display it for verification.
The cash receipts data will be posted and you will return to the
“Accounts Receivable Transaction” menu.
NOTE: Check your output queue for the Cash
Disbursements Register (APxxx). This register should be put into your binder
immediately! You cannot reproduce
this report.
The screen will display:
Click [OK]. You will be returned to the “Accounts Payable
Transaction Processing” menu.
Refer to document Menu Transactions,
Item Manual Check Entry for assistance correcting
errors.