HOW TO USE CREATE-A-CHECK TO PRINT INVOICES
(CREATE-A-CHECK VERSION LE)
To process the Create-A-Check steps
from your SkilMatch2 session, click SkilMatch 2 session.
For assistance with selecting a
different printer, refer to Select A Different
Printer.
For assistance with reprinting items:
How To Reprint When the Invoice Is Still Available in
Create-A-Check
How To Reprint When The Invoice Is NOT Available
In Create-A-Check
HOW TO USE CREATE-A-CHECK FROM YOUR
SKILMATCH2 SESSION
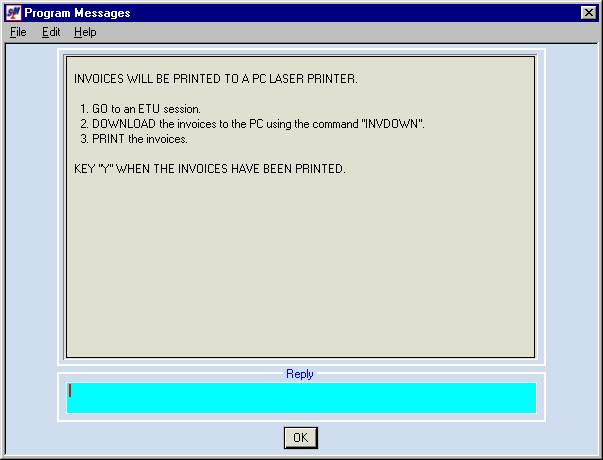
Follow procedures outlined in Menu
PBPROC, Item Invoices until the screen displays:
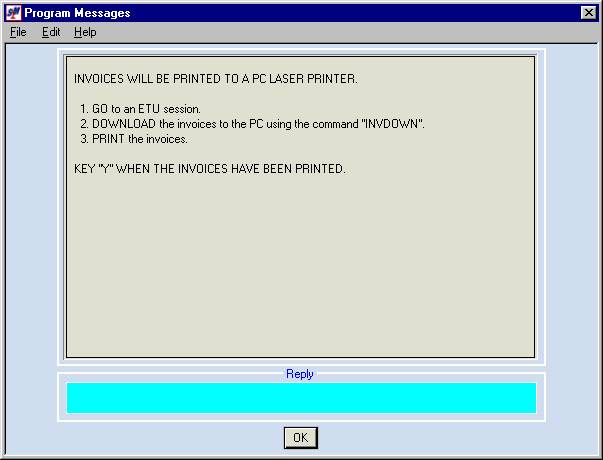
At this time, leave this screen as it
is. Do NOT reply.
Load invoice stock in the laser
printer.
Open the ES32 session, but do NOT
sign on to the ES32 session. Leave it
at the signon screen.
On another SkilMatch2 session, go to
a command line and key INVDOWN and click [OK].
The screen will display:
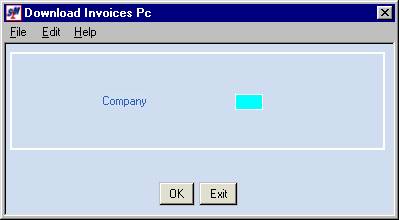
Company Number:
Key company number.
Click [OK].
The screen will display:
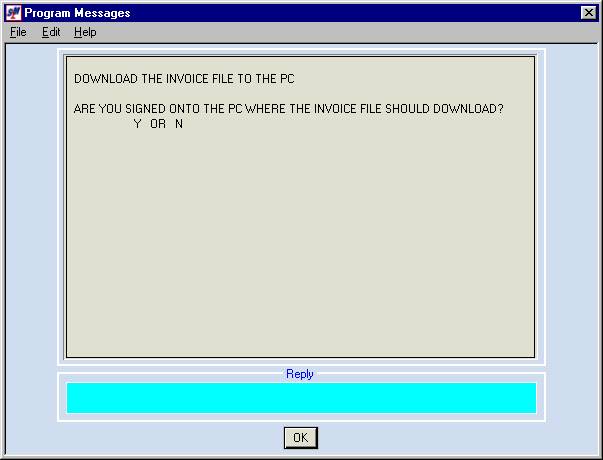
Are You Signed On To
The PC Where The Invoice File Should Download:
Since you are NOT signed onto the
ES32 session, key N.
Click [OK].
The screen will display:
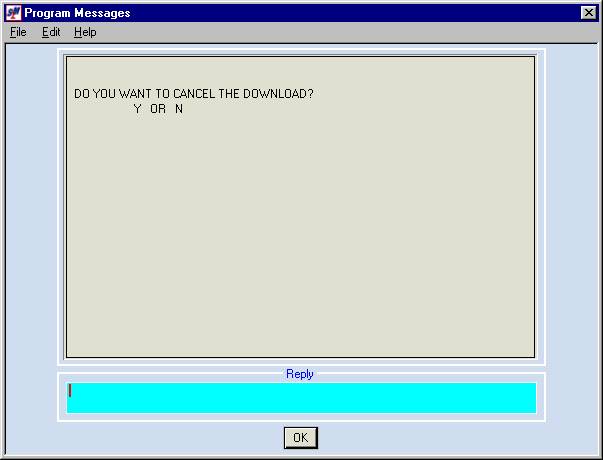
Do You Want To
Cancel The Download:
To continue, key N.
Click [OK].
The screen will display:
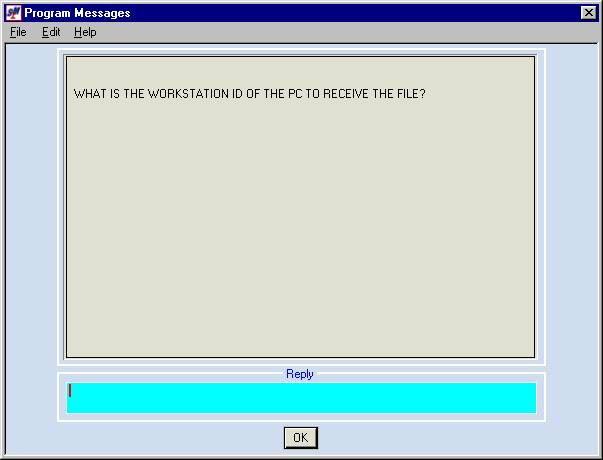
What Is The
Workstation ID Of The PC To Receive The File:
Look at the signon screen of the ES32
session. The upper right corner will
say ‘Display’. Key the name of the ES32
display.
Click [OK].
The screen will display:
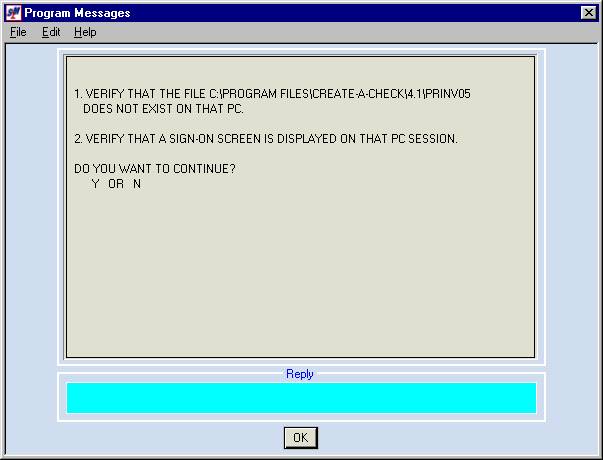
Verify That The File C:\Program
Files\CreateACheck\4.1\PRINVxx (where xx equals the company number) does NOT
exist on that PC.
Verify that a signon screen is displayed on the
ES32 session.
To continue, key Y.
Click [OK].
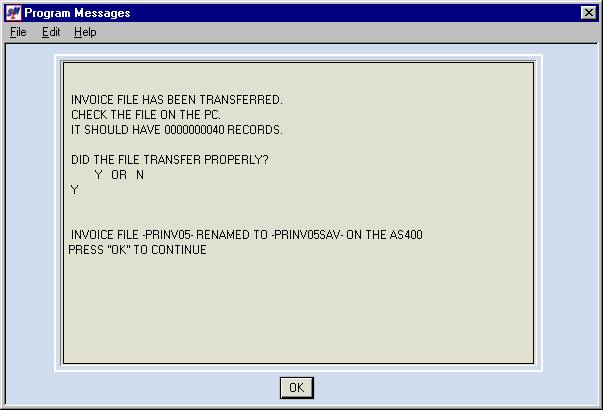
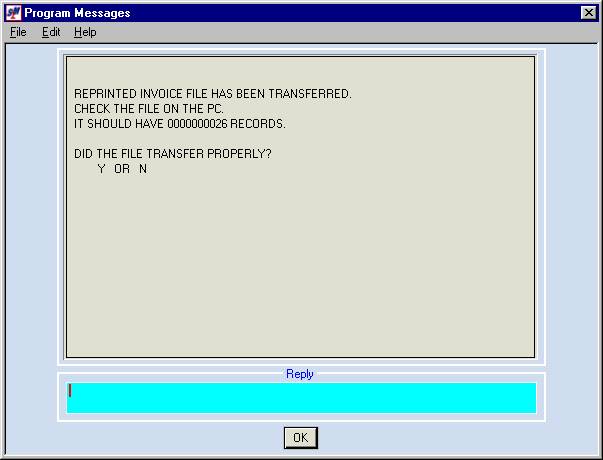
There will be a momentary delay and
then the screen will display:
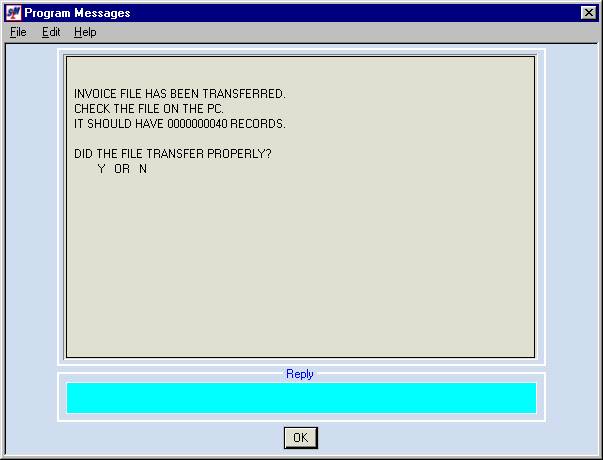
Did The File Transfer
Properly:
At this time, you do not know if the
file transferred properly. Leave this
screen as it is. Do NOT reply.
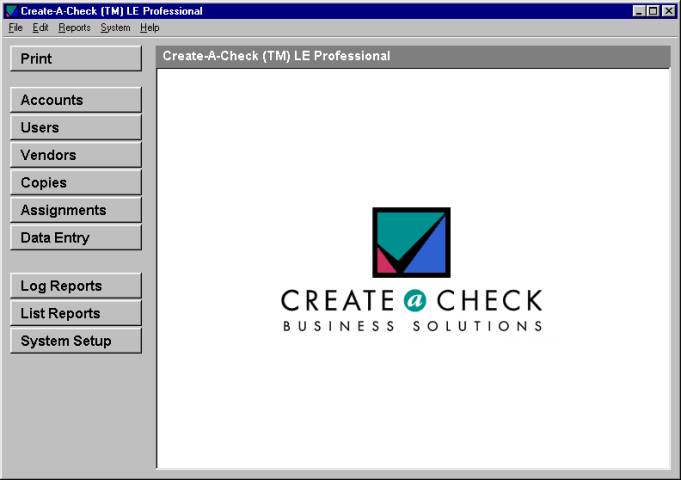
Open Create-A-Check from your
desktop.
The screen will display:
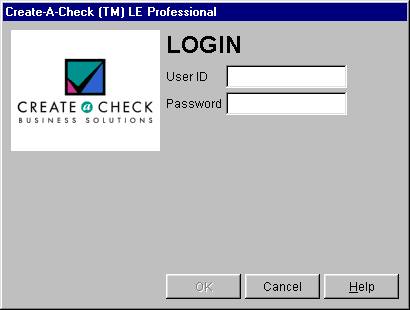
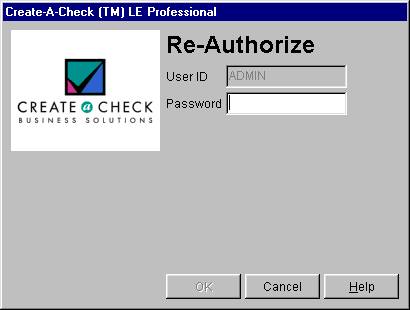
Log in with your IBM Server user ID
and password.
The screen will display:

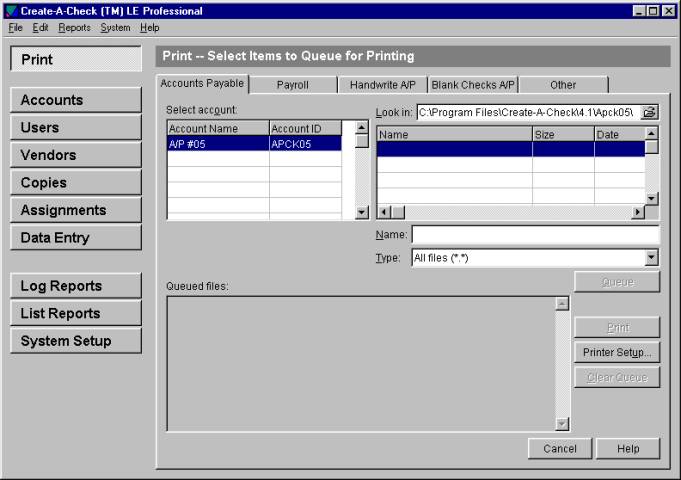
Click [Print].
The screen will display:

Select the ‘Other’ tab.
The screen will display:

Select Account:
Note: if there is more than one entry under
Account Name, you must first click the desired account.
Click once on the desired account to
select (if not already selected).
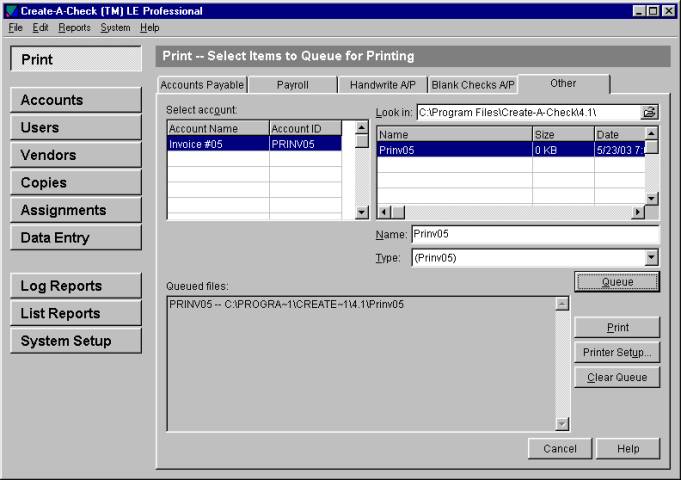
File Name:
Click once on the desired file name
(in the name/size/date area) to select it.
Click [Queue].
The screen will display:

Queued Files:
The file name will now appear in the
queued files area.
Click [Print].
The screen will display:
Password:
Enter your IBM Server password.
Click [OK].
The screen will display:

The screen will display the printer
the invoices will print to.
If you wish to print to a different
printer, refer to Select A Different Printer
for assistance.
If you wish to print to the printer
displayed, click [OK].
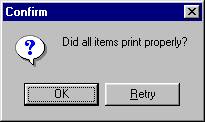
The screen will display:

Did All Items Print
Properly:
Go to the printer, get the invoices,
make sure all invoices look okay.
Note: if you click OK and they are not okay, you
can select to reprint from Create-A-Check.
Refer to How To Reprint for assistance.
If the invoices printed properly,
click [OK].
The screen will display:

Click [Cancel].
The screen will display:

Your invoices have now printed.
Remove invoice stock from printer.
Remove micro-toner from printer.
Close Create-A-Check.
Go to the SkilMatch2 session where
the screen displays:

Did The File
Transfer Properly:
Key Y.
Click [OK].
The screen will display:
Click [OK].
The screen will display:
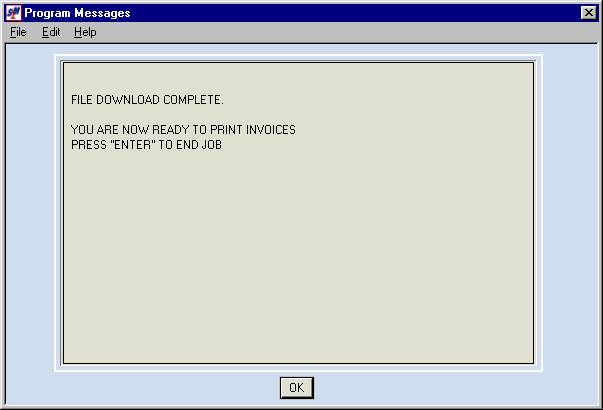
Click [OK].
Go back to your original session
where the screen displays:
Key Y and click [OK].
Follow screen prompts to post
invoices.
Note:
Once invoices are posted, you have passed "point of no return!" Do not go back to an earlier option on your
payroll checklist!
Note: go to
your outq and delete the spooled file of invoices to avoid printing to a
continuous-form printer.
Note: you may reprint individual invoices from
Create-A-Check. Refer to How To Reprint for assistance.
HOW TO SELECT A DIFFERENT PRINTER
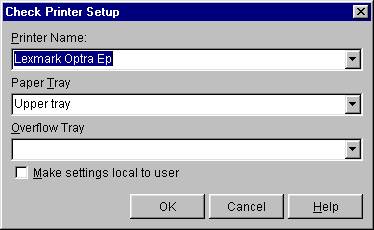
Printer Name:
Click the ![]() button (prompt and select button).
button (prompt and select button).
The screen will display:
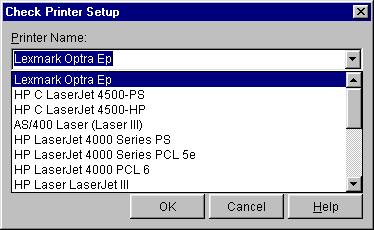
<DOUBLE-CLICK> the
desired printer to select.
The screen will display:
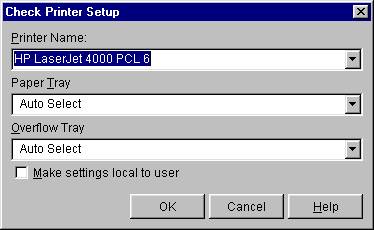
Click [OK].
HOW TO REPRINT AN INVOICE WHEN THE
INVOICE IS STILL AVAILABLE IN CREATE-A-CHECK.
Note: if the invoice is NOT available in Create-A-Check, refer to How To Reprint When The Invoice Is NOT Available In Create-A-Check.
The screen will display:
Click “File” and then select
“Reprint”.
The screen will display:
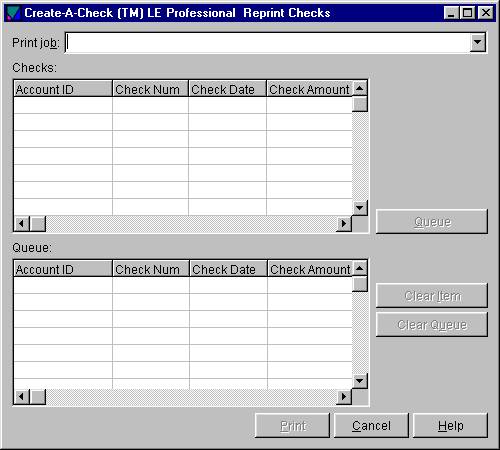
Print Job:
Click the ![]() button (prompt and select button).
button (prompt and select button).
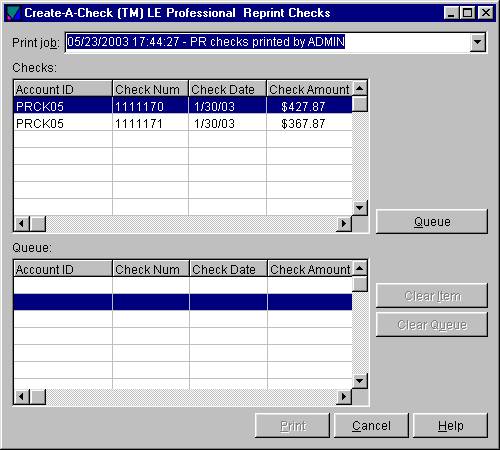
The screen will display:
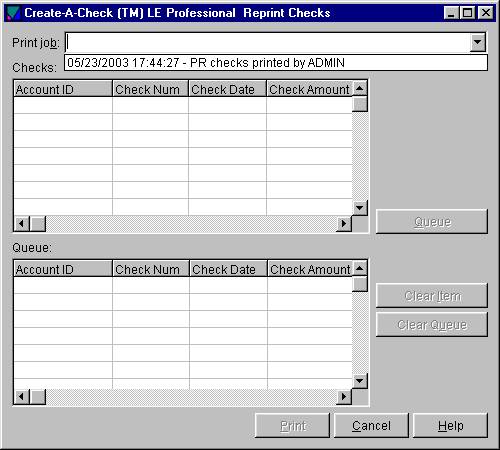
There may be one or more items listed; click the desired item.
The screen will display:

Click the desired item to select.
Note: to select multiple items, sequentially, click the first item to highlight. Hold shift key down while you click the last item. This will select all items from the first to the last.
Note: to select multiple items that are not sequential, hold the control key down while you click each desired item. This will select only the items you click on; you may skip items.
The screen will display:
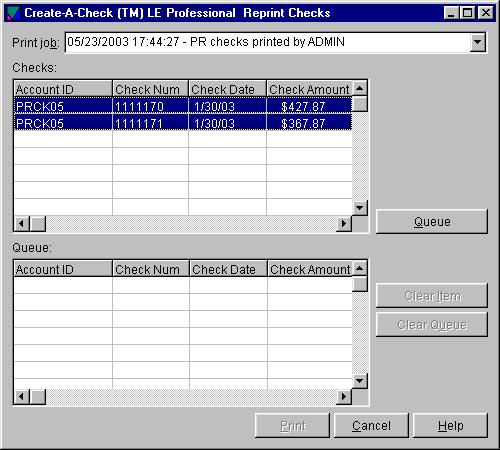
Click [Queue].
The screen will display:
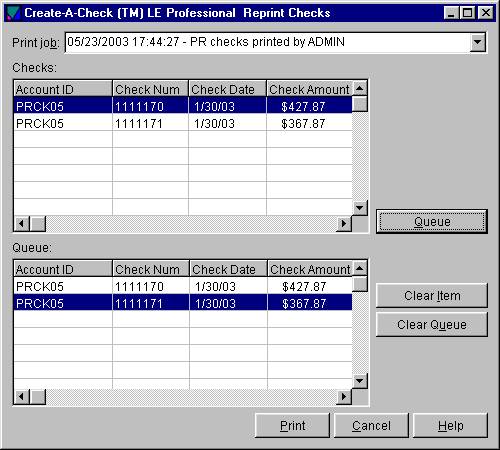
Click [Print].
The screen will display:
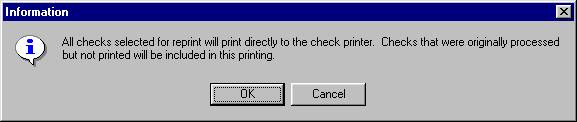
Click [OK].
The screen will display:

Password:
Enter your IBM Server password.
Click [OK].
The screen will display:
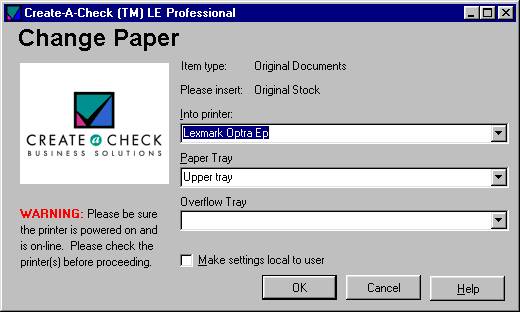
The screen will display the printer
the items will print to.
If you wish to print to a different
printer, refer to Select A Different Printer
for assistance.
If you wish to print to the printer
displayed, click [OK].
The screen will display:

Click [OK].
The screen will display:
If you are finished reprinting, click
[Cancel].
The screen will display:

Items have now reprinted.
Remove stock from printer.
Remove micro-toner from printer.
Close Create-A-Check.
HOW TO REPRINT WHEN
THE INVOICE IS NOT
AVAILABLE IN CREATE-A-CHECK.
Note: only one user per general ledger company number may process this
option at any given time. Users may
process this option simultaneously for DIFFERENT general ledger company
numbers, but NOT for the SAME general ledger company number.
On a SkilMatch2 session, go to a
command line and key INVRP
and click [OK].
The screen will display:
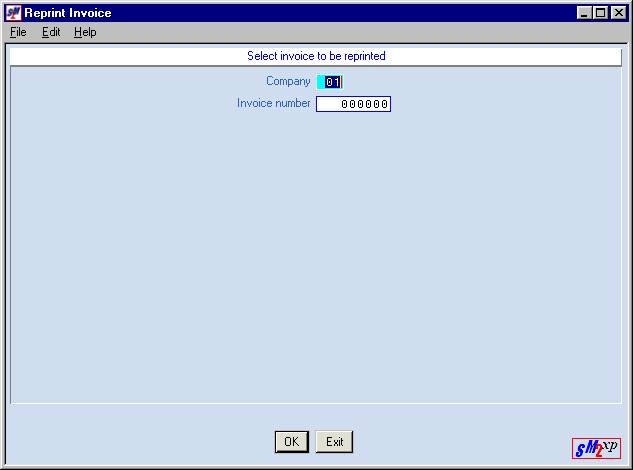
Company Number:
Key the company number associated
with the invoice you wish to reprint.
Press the <TAB> key for additional keying.
Invoice Number:
Key the invoice number you wish to
reprint.
Click [OK].
The screen will display:
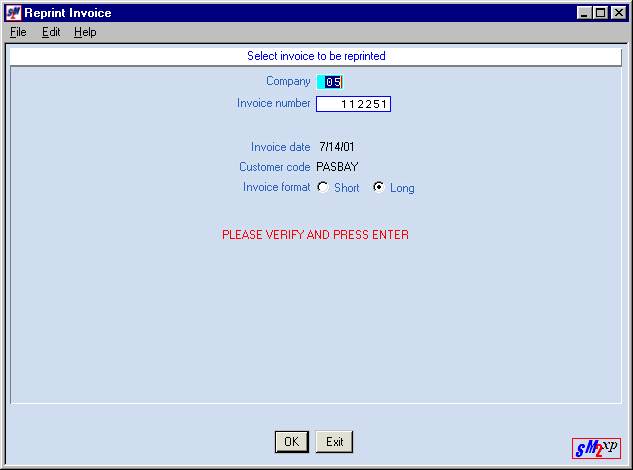
If the information displayed is correct and you wish to continue, click [OK].
If the information displayed is NOT
correct, click [Exit] to try again.
If you chose to continue, the screen
will display:

Load invoice stock in the laser
printer.
Open the ES32 session, but do NOT sign on to the ES32 session. Leave it at the signon screen.
If you are ready to continue with the
download IMMEDIATELY,
key Y and click [OK].
Note: if you key Y and click [OK] and do NOT continue with the download
immediately, the file containing the invoice you wish to reprint may be
overwritten by another user.
On another SkilMatch2 session, go to
a command line and key INVDWNRP
and click [OK].
The screen will display:

Company Number:
Key company number.
Click [OK].
The screen will display:

Are You Signed On To
The PC Where The Invoice File Should Download:
Since you are NOT signed onto the
ES32 session, key N.
Click [OK].
The screen will display:
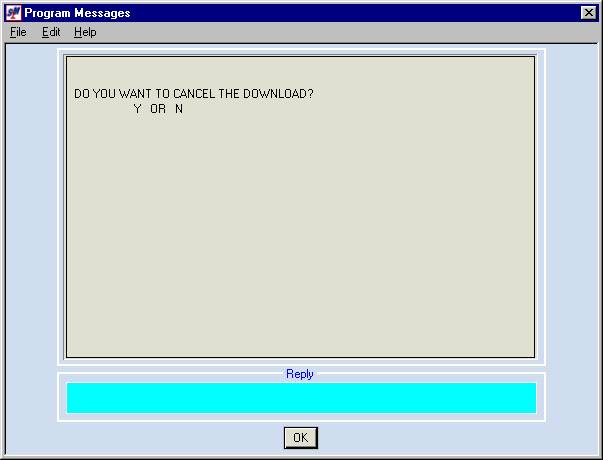
Do You Want To
Cancel The Download:
To continue, key N.
Click [OK].
The screen will display:
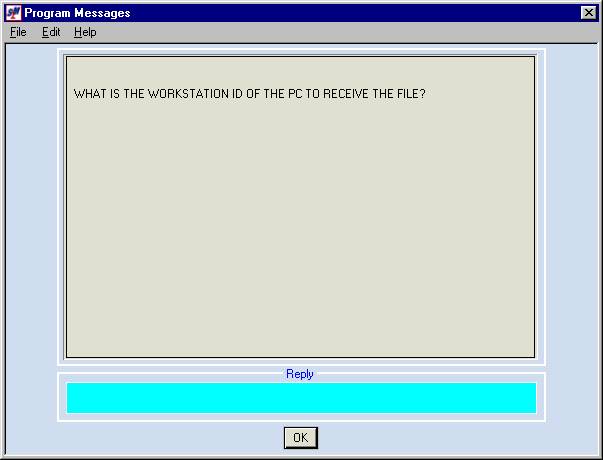
What Is The
Workstation ID Of The PC To Receive The File:
Look at the signon screen of the ES32
session. The upper right corner will
say ‘Display’. Key the name of the ES32
display.
Click [OK].
The screen will display:
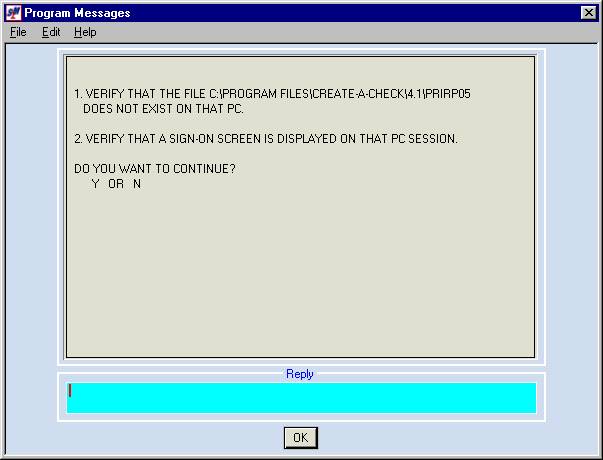
Verify That The File C:\Program
Files\CreateACheck\4.1\PRIRPxx
(where xx equals the company number) does NOT exist on that PC.
Verify that a signon screen is displayed on the
ES32 session.
To continue, key Y.
Click [OK].
There will be a momentary delay and
then the screen will display:

Did The File Transfer
Properly:
At this time, you do not know if the
file transferred properly. Leave this
screen as it is. Do NOT reply.
Open Create-A-Check from your
desktop.
The screen will display:

Log in with your IBM Server user ID
and password.
The screen will display:

Click [Print].
The screen will display:
Select the ‘Other’ tab.
The screen will display:

Select Account:
Note: if there is more than one entry under
Account Name, you must first click the desired account.
Click once on the desired account to
select (if not already selected).
File Name:
Click once on the desired file name
(in the name/size/date area) to select it.
Click [Queue].
The screen will display:
Queued Files:
The file name will now appear in the
queued files area.
Click [Print].
The screen will display:

Password:
Enter your IBM Server password.
Click [OK].
The screen will display:

The screen will display the printer
the invoices will print to.
If you wish to print to a different
printer, refer to Select A Different Printer
for assistance.
If you wish to print to the printer
displayed, click [OK].
The screen will display:
Did All Items Print
Properly:
Go to the printer, get the invoices,
make sure all invoices look okay.
Note: if you click OK and they are not okay, you
can select to reprint from Create-A-Check.
Refer to How To Reprint for assistance.
If the invoices printed properly,
click [OK].
The screen will display:

Click [Cancel].
The screen will display:

Your invoices have now printed.
Remove invoice stock from printer.
Remove micro-toner from printer.
Close Create-A-Check.
Go to the SkilMatch2 session where
the screen displays:
Did The File
Transfer Properly:
Key Y.
Click [OK].
The screen will display:
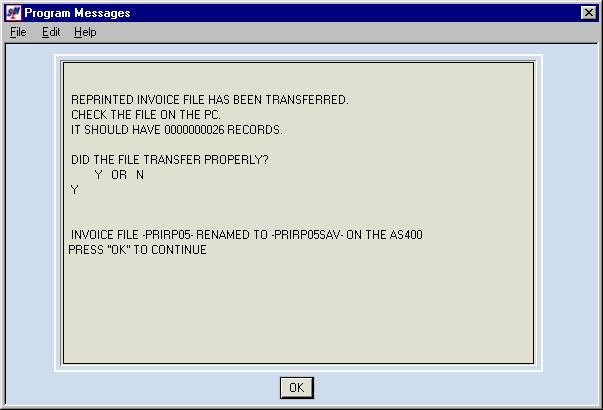
Click [OK].
The screen will display:

Click [OK].
Note: go to
your outq and delete the spooled file of the reprinted invoice to avoid
printing to a continuous-form printer.
Note: you may reprint individual invoices from
Create-A-Check if the file is still available in Create-A-Check. Refer to How To Reprint
for assistance.