HOW TO USE CREATE-A-CHECK TO PRINT ACCOUNTS PAYABLE CHECKS
(CREATE-A-CHECK VERSION 4.1)
HOW TO USE CREATE-A-CHECK FROM YOUR ES32 SESSION
For assistance with selecting a
different printer, refer to Select A Different Printer.
For assistance with reprinting items,
refer to How To Reprint.
Follow
procedures outlined in Menu
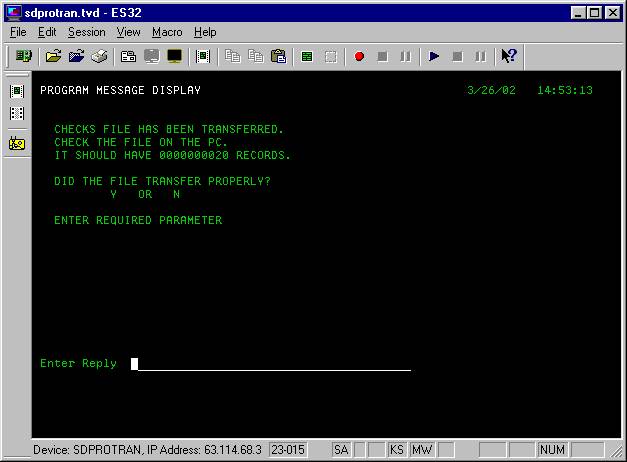
APCHEK, Item Check Processing until the screen displays:
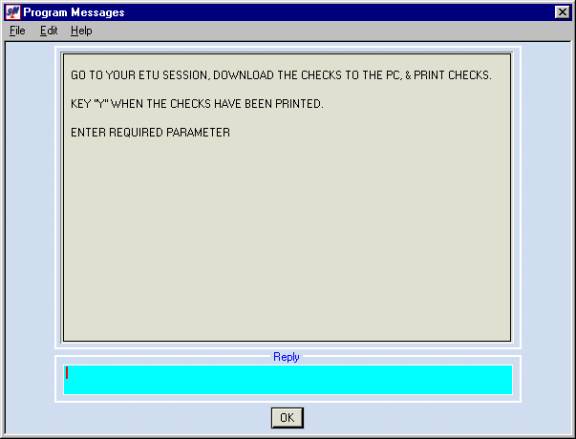
At this time, leave this screen as it
is. Do NOT reply.
Load check stock in the laser
printer.
Load micro-toner in the laser printer.
Open the ES32 session.
Sign on to the ES32 session with your
AS/400 user ID.
On command line key APDOWN and press
(enter).
The screen will display:
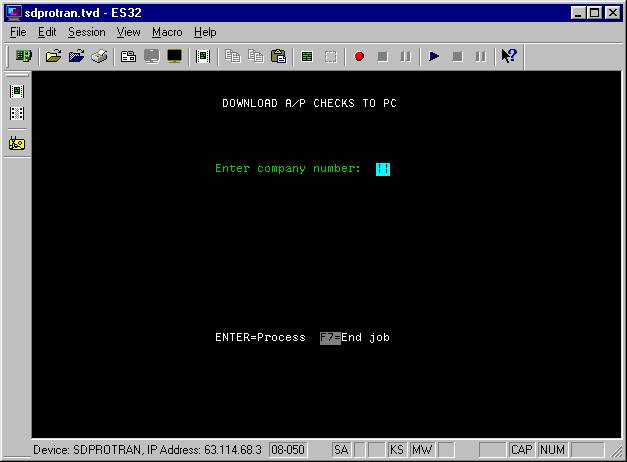
Company Number:
Key company number.
Press (enter).
The screen will display:
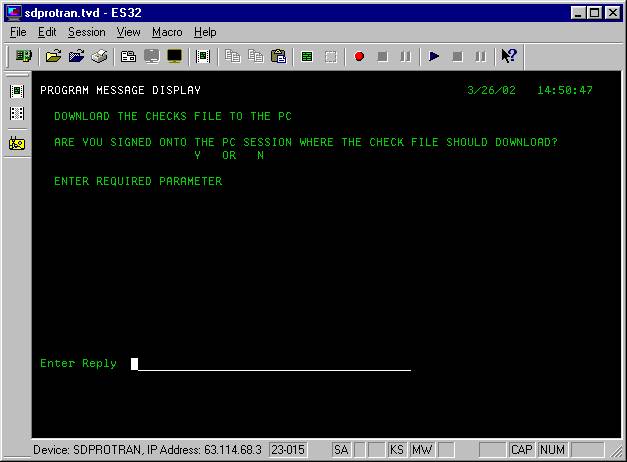
Are You Signed On To
The PC Session Where The Check File Should Download:
Make sure you are working from the ES
session, and key Y.
Press (enter).
Messages will appear on the screen
and then the screen will display:

Did File Transfer
Properly:
At this time, you do not know if the
file transferred properly. Leave this
screen as it is. Do NOT reply.
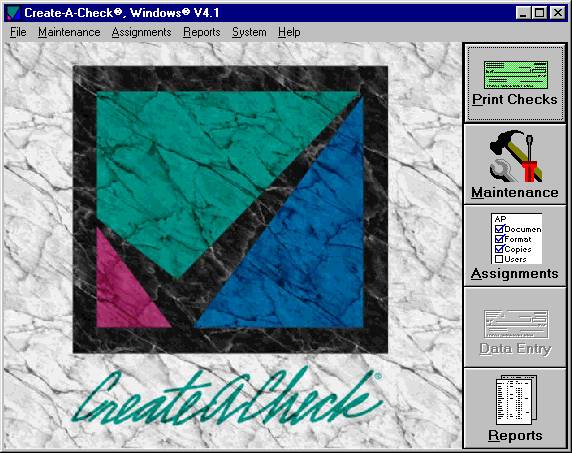
Open Create-A-Check from your
desktop.
The screen will display:
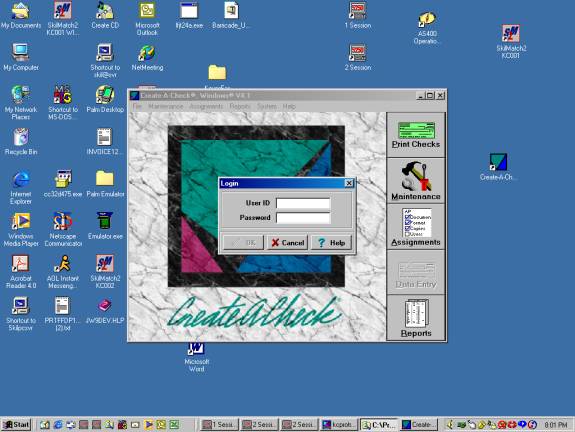
Log in with your AS/400 user ID and
password.
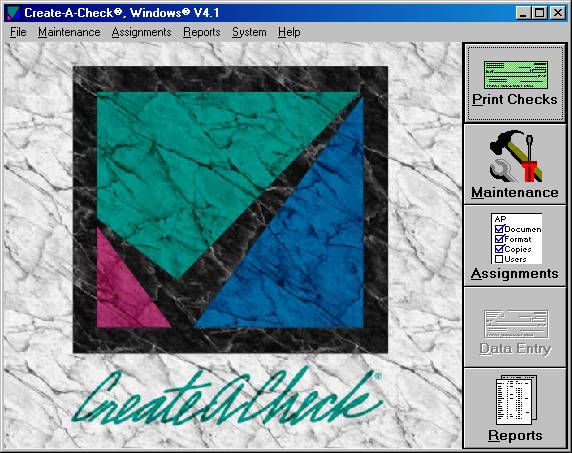
The screen will display:

Click [Print Checks].
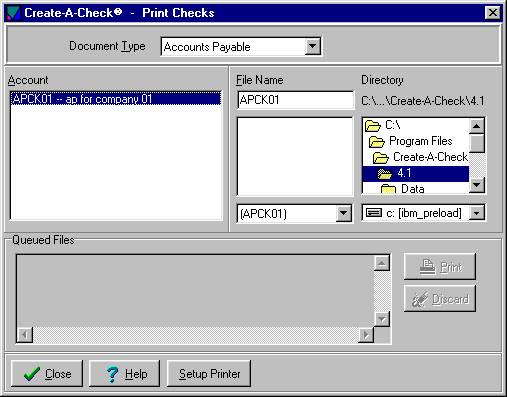
The screen will display:
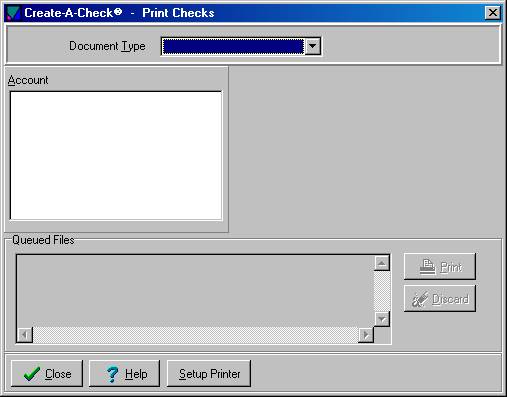
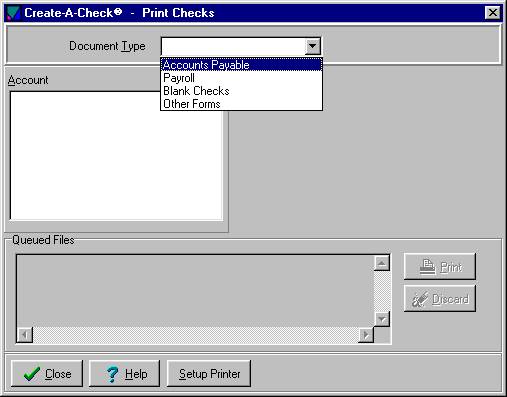
Document Type:
Select ‘Accounts Payable’.
The screen will display:
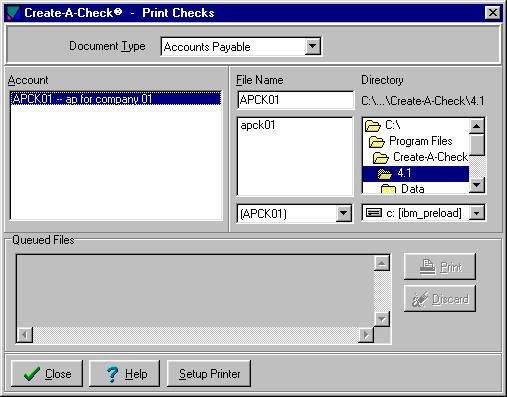
Account:
Note: if there is more than one entry under
Account, you must first click the desired account. Once the desired account is selected, the file name will appear
in three places under ‘File Name’.
Click once on the desired account to
select (if not already selected).
File Name:
Note: the file name will appear in three places
(APlCKxx where xx equals the company number).
This tells you the file transferred properly.
<DOUBLE-CLICK> the file
name in the large middle
box to select it.
Note: do NOT click the file name in the top or bottom middle box.
The screen will display:
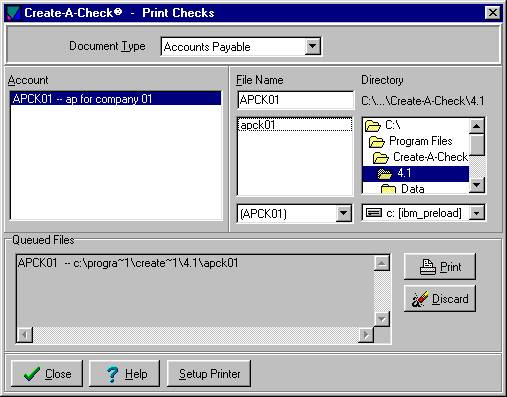
Queued Files:
The file name will now appear in the
queued files area.
Click [Print].
The screen will display:
Password:
Enter your AS/400 password.
Click [OK].
The screen will display:
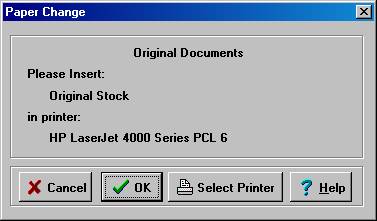
The screen will display the printer
the checks will print to.
Click [OK].
The screen will display:
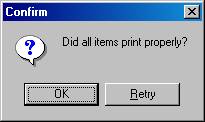
Go to the printer, get the checks,
make sure all checks look okay.
Note: if you click OK and they are not okay, you
can select to reprint from Create-A-Check.
If the checks printed properly, click
[OK].
The screen will display:
Click [Close].
The screen will display:

Your accounts payable checks have now
printed.
Remove accounts payable check stock
from printer.
Remove micro-toner from printer.
Close Create-A-Check.
Go to the ES
session where the screen displays:
Did The File
Transfer Properly:
Key Y.
Press (enter).
The screen will display:
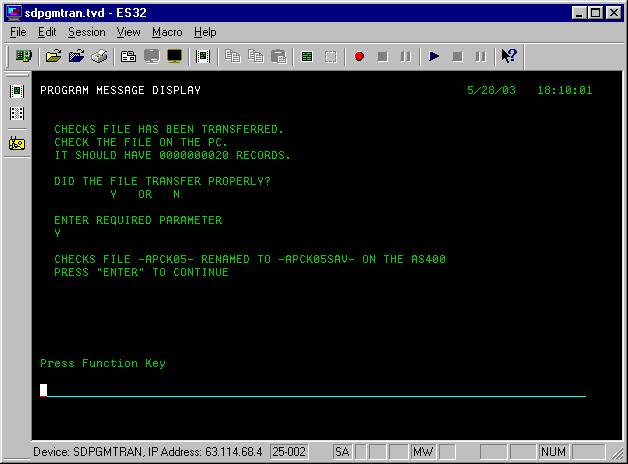
Press (enter).
The screen will display:
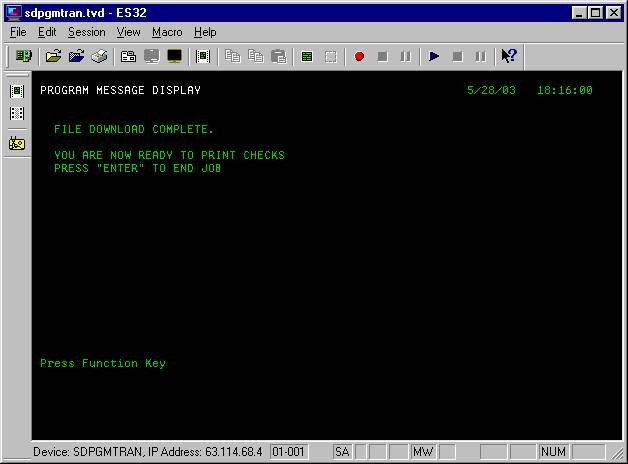
Press (enter).
Go back to your original session
where the screen displays:

Key Y and click [OK].
Follow screen prompts to post
accounts payable checks.
Note: go
to your outq and delete the spooled file of checks to avoid printing to a
continuous-form printer.
Note: you may reprint individual checks from
Create-A-Check. (Select File and then
select Reprint)
HOW TO SELECT A DIFFERENT PRINTER
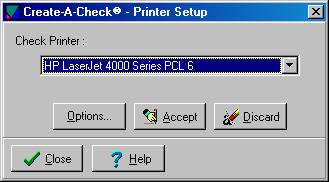
Check Printer:
Click the ![]() button (prompt and select button).
button (prompt and select button).
The screen will display:
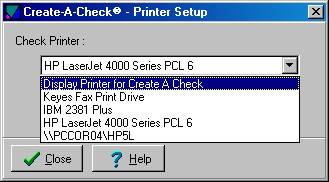
<DOUBLE-CLICK> on
‘Display Printer for Create A Check’ to select.
The screen will display:
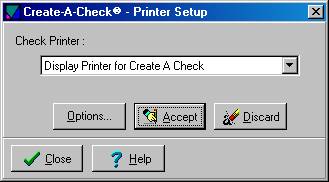
Click [Accept].
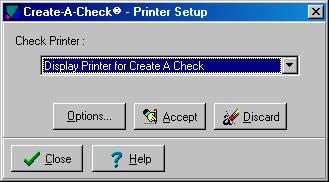
Click [Close].
The screen will display:
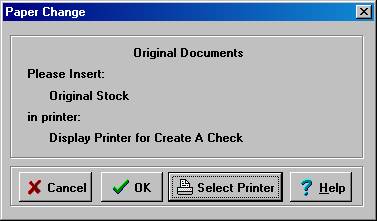
Click [OK].
HOW TO REPRINT
The screen will display:
Click “File” and then select
“Reprint”.
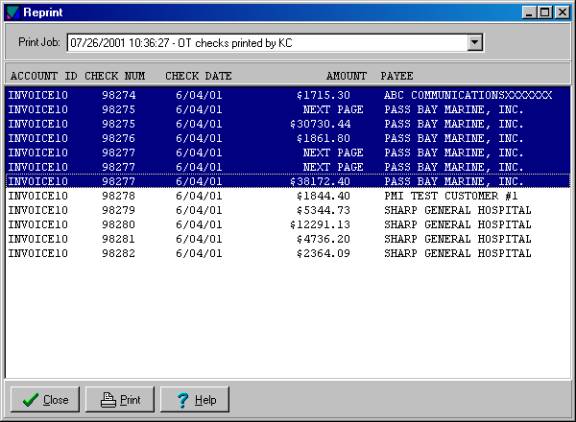
The screen will display:
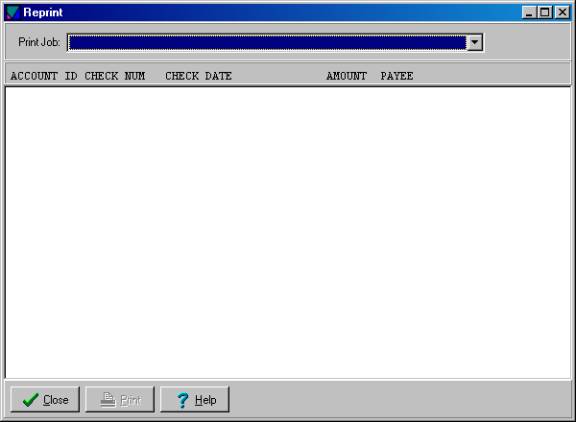
Print Job:
Click the ![]() button (prompt and select button).
button (prompt and select button).
The screen will display:
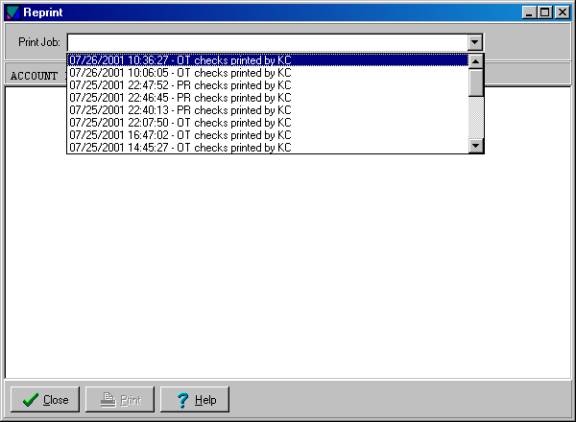
May be one or more items listed; click the desired item.
The screen will display:
Click the desired item to select.
Note: to select multiple items, sequentially, click the first item to highlight. Hold shift key down while you click the last item. This will select all items from the first to the last.
Note: to select multiple items that are not sequential, hold the control key down while you click each desired item. This will select only the items you click on; you may skip items.
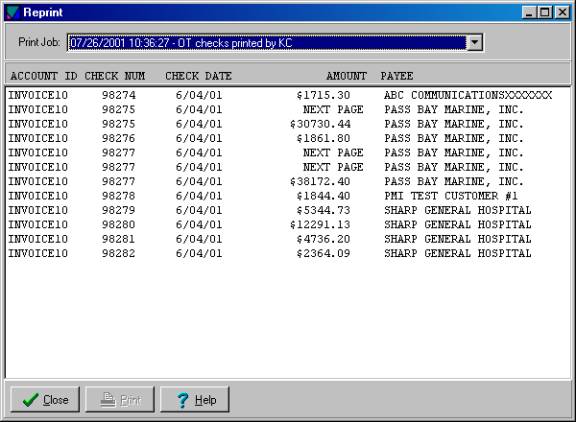
The screen will display:
Click [Print].
The screen will display:
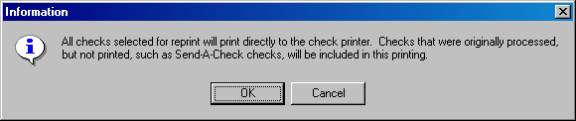
Click [OK].
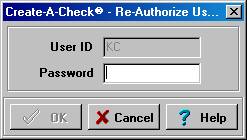
The screen will display:
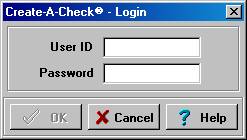
User ID:
Enter your AS/400 User ID.
Password:
Enter your AS/400 password.
Click [OK].
The screen will display:

The screen will display the printer
the items will print to.
If you wish to print to a different
printer, refer to Select A Different Printer for
assistance.
If you wish to print to the printer
displayed, click [OK].
The screen will display:

Click [OK].
The screen will display:
Items have now reprinted.
Remove stock from printer.
Remove micro-toner from printer.
Close Create-A-Check.